Attic humidity problems can silently damage homes across the country, causing expensive repairs that many homeowners don't see coming. When warm, moist air gets trapped in attic spaces, it creates the perfect conditions for mold growth, wood rot, and structural damage that can cost thousands of dollars to fix.
High humidity levels in attics typically occur when warm air from living spaces meets cold surfaces, creating condensation that leads to moisture buildup over time. This problem affects both vented and unvented attic systems, though each type faces different challenges when it comes to moisture control.
The key lies in identifying the root causes, recognizing early symptoms, and taking the right steps to prevent moisture from wreaking havoc on a home's structure and insulation.
In this article, you’ll learn how to identify and solve attic humidity problems using smart moisture control, ventilation fixes, and insulation upgrades.
Here’s what you need to know:
- What causes humidity to build up in the attic?
- Signs your attic has a humidity problem
- How attic humidity impacts your home's insulation and structure
- How to fix and prevent attic humidity problems
- When to call a professional for attic humidity issues
Keep reading! Understanding the warning signs of attic humidity issues and knowing how to address them can save homeowners from major headaches down the road.
What causes humidity to build up in the attic?
Attic humidity problems come from three main sources: roof damage that lets water in, poor air flow that traps moisture, and temperature differences that create condensation. These issues work together to create the perfect conditions for moisture buildup.
How roof leaks and poor ventilation trap moisture
Roof leaks create direct paths for water to enter the attic space. Even small cracks in shingles or gaps around vents can let rainwater seep inside.
Poor ventilation makes the problem worse by trapping this moisture. Without proper air flow, water vapor has nowhere to go and stays in the attic.
Common leak sources include:
- Damaged or missing shingles
- Cracked flashing around chimneys
- Loose or broken vent seals
- Ice dam damage in winter
Ventilation systems need both intake and exhaust points to work properly. Blocked soffit vents stop fresh air from entering. Clogged ridge vents prevent moist air from escaping.
When ventilation fails, humidity levels rise quickly. The trapped air becomes saturated with moisture and cannot dry out naturally.
The role of temperature differences between attic and living spaces
Condensation in attic spaces happens when warm air meets cold surfaces. This temperature difference creates water droplets that collect on rafters, insulation, and other materials.
During winter, heated air from living spaces rises into the cold attic. The warm air hits cold roof decking and instantly turns into water droplets.
Summer brings the opposite problem. Hot attic air meets cooler surfaces, especially around air conditioning ducts or insulated areas.
Temperature factors that increase condensation:
- Large gaps between indoor and attic temperatures
- Rapid weather changes
- Poor insulation that allows heat transfer
- Metal surfaces that get very cold or hot
The bigger the temperature difference, the more condensation forms. Even a 20-degree gap can create significant moisture problems.
Why insulation gaps allow condensation to form
Gaps in insulation create pathways for warm, humid air to reach cold surfaces. These openings act like highways for moisture to travel from living spaces into the attic.
Common gap locations include areas around light fixtures, plumbing pipes, and electrical wires. Even small holes can let large amounts of humid air through.
When this warm air hits cold attic surfaces, it immediately condenses into water. The moisture then soaks into insulation and wooden structures.
Problem areas for insulation gaps:
- Around recessed lights
- Near bathroom exhaust fans
- At plumbing penetrations
- Along wall top plates
Compressed or settled insulation also creates problems. These thin spots allow heat and moisture to pass through more easily than properly installed materials.
Missing vapor barriers make the situation worse by letting moisture move freely between spaces.
Signs your attic has a humidity problem
High humidity in attics creates distinct warning signs that homeowners can identify through careful observation. These problems often start with subtle odors and damp materials before progressing to visible damage and increased energy costs.
Spotting early warning signs like musty odors or damp insulation
The first signs of attic humidity problems often appear as musty or stale odors coming from upstairs areas or air vents. These smells indicate moisture is trapped in the space without proper ventilation.
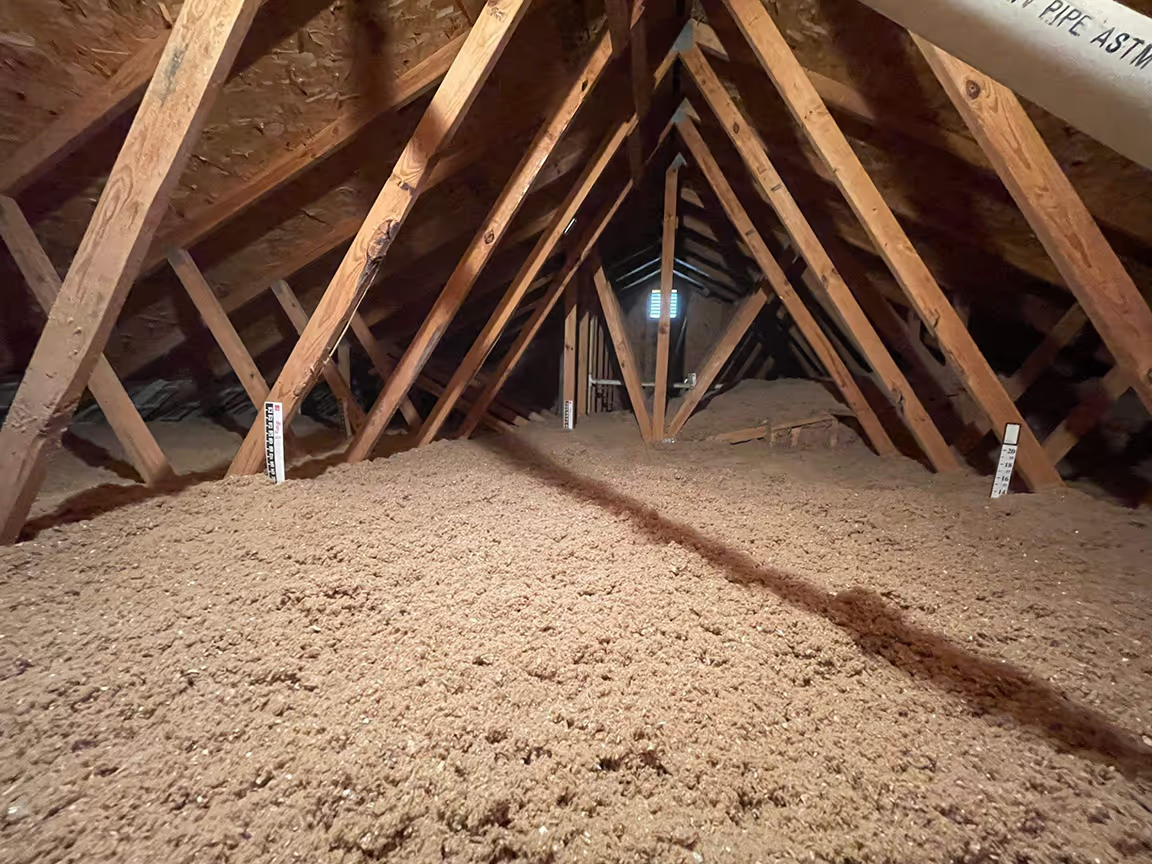
Homeowners should check their insulation for signs of dampness. Wet or damp insulation loses its effectiveness and may feel heavy or compressed. Fiberglass insulation will look darker when wet, while cellulose insulation may clump together.
Condensation on wood beams is another early warning sign. Water droplets form on rafters, joists, and other wooden surfaces when warm, humid air meets cooler surfaces. This typically happens during temperature changes.
Water stains on attic surfaces indicate moisture problems. These brown or yellow marks appear on wood, drywall, or other materials where water has collected and dried repeatedly.
According to the U.S. EPA, wet or damp building materials should be dried within 24–48 hours to help prevent mold growth—making prompt leak repair and drying essential after any attic moisture event.
How humidity leads to mold, mildew, and wood rot
High humidity creates perfect conditions for mold and mildew growth. These fungi thrive in moisture levels above 60% and temperatures between 60-80 degrees Fahrenheit.
Black, green, or white spots on wood surfaces, insulation, or stored items indicate mold growth. Mildew appears as powdery white or gray patches on surfaces.
Wood rot develops when moisture levels stay high for extended periods. Wooden beams and rafters become soft, spongy, or crumbly. The wood may change color to dark brown or black.
Structural damage occurs as wood rot weakens roof supports. Homeowners may notice sagging roof lines or ceiling cracks as the wood loses strength. This damage requires immediate professional attention to prevent safety hazards.
When high humidity starts affecting your home's comfort and energy bills
Attic humidity problems increase cooling costs during summer months. Humid air in the attic makes air conditioning systems work harder to maintain comfortable temperatures.
Ice dams form in winter when humid attic air creates temperature differences on the roof. Snow melts unevenly and refreezes at the roof edge, causing water backup and potential leaks.
Inconsistent room temperatures occur when humid attics affect insulation performance. Some rooms may feel warmer or cooler than others as the HVAC system struggles to maintain balance.
Higher energy bills result from reduced insulation effectiveness and increased HVAC runtime. Homeowners typically see 10-20% increases in energy costs when attic humidity problems persist.
How attic humidity impacts your home's insulation and structure
High humidity in attics causes serious problems for both insulation and structural materials. Moisture reduces insulation effectiveness by up to 50% and creates conditions that damage wood framing and roof decking over time.
The hidden link between moisture and reduced insulation performance
Wet insulation loses its ability to control temperature in homes. When moisture gets into fiberglass or cellulose insulation, it compresses the material and fills air pockets that normally trap heat.
Performance drops happen fast:
- Fiberglass insulation loses 50% effectiveness when wet
- Cellulose insulation clumps together and stops working
- Spray foam can develop gaps that let air through
Damp insulation also takes a long time to dry out. Poor ventilation in attics means moisture stays trapped for weeks or months. This creates ongoing energy problems in homes.
Homeowners see higher heating and cooling bills when attic insulation gets wet. The HVAC system works harder to maintain comfortable temperatures throughout the house.
Why trapped humidity can damage roof decking and framing
Wood materials in attics absorb moisture from humid air. Roof decking and framing lumber expand and contract as humidity levels change.
This process weakens wood over time. High moisture content makes wood soft and prone to splitting. It also creates perfect conditions for mold and rot to develop.
Common structural problems include:
- Warped roof decking that creates uneven surfaces
- Cracked or split framing lumber
- Sagging ceiling joists from water damage
- Metal fasteners that rust and lose holding power
Trapped humidity also attracts wood-boring insects. Carpenter ants and termites prefer damp wood environments. These pests can cause additional structural damage beyond what moisture alone creates.
How long-term attic moisture leads to costly repairs
Chronic humidity problems in attics result in expensive home repairs. Small moisture issues grow into major structural problems when left untreated.
Repair costs add up quickly:
- Roof decking replacement: $3-8 per square foot
- Structural framing repairs: $1,500-5,000 per project
- Insulation replacement: $2-4 per square foot
- Mold remediation: $1,500-3,500 average cost
Water damage often spreads beyond the attic. Ceiling stains appear in rooms below when moisture soaks through materials. Drywall and paint need replacement in severe cases.
Insurance companies may not cover gradual moisture damage. Most policies exclude problems that develop slowly over time. Homeowners pay out of pocket for repairs that preventive measures could have avoided.
Regular attic inspections help catch moisture problems early. Small ventilation improvements cost much less than major structural repairs later.
How to fix and prevent attic humidity problems
Fixing attic humidity requires a multi-step approach that addresses ventilation, air leaks, insulation choices, and moisture removal. These solutions work together to create a dry environment that prevents mold growth and structural damage.
Improving attic ventilation and air circulation
Proper ventilation is the foundation of attic moisture control. Air must flow freely through the space to carry away excess humidity.
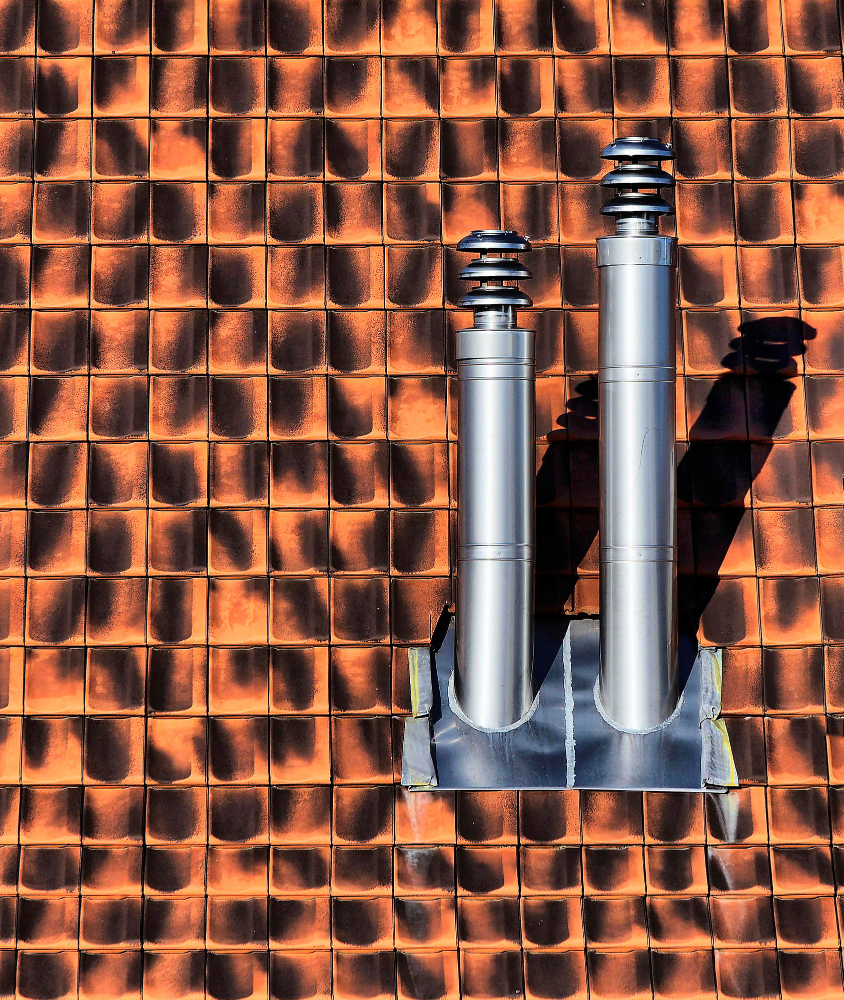
Soffit and ridge vents create the most effective airflow system. Cool air enters through soffit vents at the eaves and warm, moist air exits through ridge vents at the peak. This natural circulation removes moisture before it can cause problems.
The general rule is one square foot of ventilation for every 150 square feet of attic space. Half should be intake vents (soffits) and half should be exhaust vents (ridge or gable vents).
According to the U.S. Department of Energy, minimum net free ventilating area should be 1/150 of the attic floor area, or 1/300 when specific conditions (e.g., a qualifying vapor retarder and balanced intake/exhaust) are met—so verify your attic’s NFA against code and climate.
Homeowners should check that insulation doesn't block soffit vents. Baffles keep insulation away from vents while maintaining proper airflow paths.
Attic fans can boost ventilation in problem areas. Solar-powered fans work during peak humidity hours without increasing electric bills.
Gable vents provide additional exhaust options when ridge vents aren't possible. They work best when paired with adequate soffit ventilation.
Sealing air leaks to stop moisture migration
Air leaks allow warm, humid air from living spaces to enter the attic. These leaks create condensation when warm air meets cold surfaces.
According to ENERGY STAR, homeowners can save about 15% on heating and cooling costs (≈11% on total energy) by air sealing and adding insulation in key areas such as the attic—cutting moisture infiltration pathways while improving efficiency.
Common leak sources include:
- Recessed lights
- Electrical outlets
- Plumbing penetrations
- Attic hatches
- Ductwork connections
Caulk and weatherstripping seal small gaps around penetrations. Use high-quality materials that won't shrink or crack over time.
Spray foam works well for larger openings around pipes and wires. It expands to fill irregular spaces and creates an airtight seal.
Attic hatches need proper sealing with weatherstripping and latches that pull the door tight. Adding insulation to the hatch itself prevents thermal bridging.
Ductwork sealing prevents conditioned air from leaking into the attic. Use mastic sealant rather than duct tape for long-lasting results.
Choosing insulation materials that resist mold and dampness
The right insulation materials help prevent mold growth while maintaining thermal performance in humid conditions.
Closed-cell spray foam provides both insulation and moisture barrier properties. It doesn't absorb water and creates an air seal that prevents moisture migration.
Mineral wool resists mold better than fiberglass. It maintains insulating properties even when damp and dries quickly after moisture exposure.
Rigid foam boards work well in problem areas. They don't absorb moisture and won't support mold growth like organic materials.
Avoid cellulose insulation in humid climates. This paper-based material absorbs moisture and can develop mold problems.
When using fiberglass, choose unfaced batts in most applications. Faced batts can trap moisture if installed incorrectly.
Replace wet insulation immediately. Damp insulation loses effectiveness and becomes a breeding ground for mold and bacteria.
Using vapor barriers and dehumidifiers effectively
Vapor barriers and dehumidifiers provide additional moisture control when ventilation and sealing aren't enough.
Vapor barriers go on the warm side of insulation to prevent moisture from entering the attic. In most climates, this means installing them between living spaces and the attic.
Plastic sheeting works as a simple vapor barrier. Overlap seams by six inches and seal with tape designed for vapor barriers.
Attic dehumidifiers remove excess moisture when other methods fall short. Choose units sized for the attic's cubic footage and install drainage systems for continuous operation.
Set dehumidifiers to maintain 40-50% relative humidity. Lower levels waste energy while higher levels allow mold growth.
Smart humidity controllers automatically adjust dehumidifier operation based on conditions. They save energy by running only when needed.
Install condensate pumps if gravity drainage isn't possible. These pumps move water from the dehumidifier to a suitable drain location.
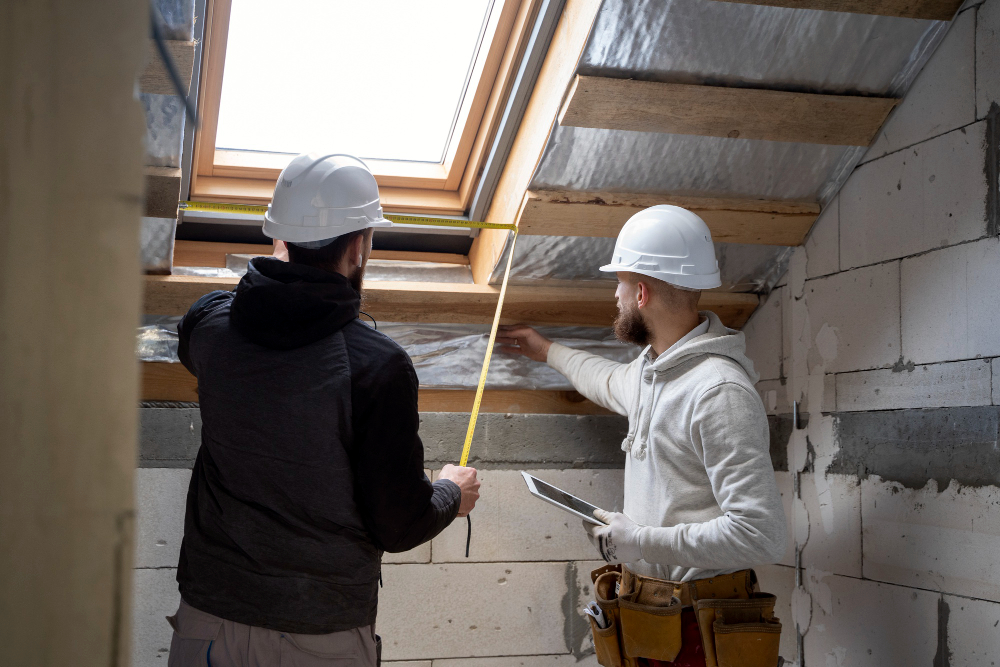
When to call a professional for attic humidity issues
Serious attic humidity problems require expert intervention when moisture levels exceed 60%, structural damage appears, or mold growth begins. Professional contractors have specialized equipment to identify hidden moisture sources and implement comprehensive solutions that prevent costly long-term damage.
How experts assess ventilation and moisture sources
Professional contractors use moisture meters and thermal imaging cameras to find hidden water damage. These tools detect problems that homeowners cannot see with the naked eye.
Experts check all ventilation points including soffit vents, ridge vents, and exhaust fans. They measure airflow rates to determine if ventilation meets building codes. Poor ventilation causes 80% of attic moisture problems.
Key assessment areas include:
- Roof leaks and damaged shingles
- Blocked or insufficient intake vents
- Exhaust fans venting into the attic
- Air leaks from living spaces below
Contractors also inspect insulation for wet spots or compression. Wet insulation loses its effectiveness and creates breeding grounds for mold. They check ductwork for leaks that pump humid air into the attic space.
Professional assessment takes 2-3 hours and costs $200-400. This investment prevents thousands in future repair costs.
The benefits of professional insulation replacement
Damaged insulation from moisture exposure must be completely removed and replaced. Professionals have proper safety equipment to handle contaminated materials safely.
Old insulation often contains mold spores, animal droppings, or asbestos in older homes. DIY removal spreads these contaminants throughout the house. Professional crews seal off work areas and use negative air pressure systems.
Professional insulation services include:
- Safe removal of contaminated materials
- Air sealing before new installation
- Proper vapor barrier installation
- Code-compliant R-value installation
New insulation installation requires specific techniques for maximum effectiveness. Professionals ensure proper coverage without gaps or compression. They also install vapor barriers correctly to prevent future moisture problems.
Professional insulation replacement costs $2-4 per square foot but provides 15-20 year warranties. This guarantees proper installation and long-term performance.
Ensuring long-term attic health with regular maintenance
Professional maintenance programs include twice-yearly inspections before summer and winter seasons. Regular monitoring catches small problems before they become expensive repairs.
Maintenance contracts typically cost $150-300 annually. This includes visual inspections, moisture level testing, and ventilation system cleaning.
Professional maintenance services:
- Humidity level monitoring
- Ventilation system cleaning
- Insulation condition checks
- Roof leak detection
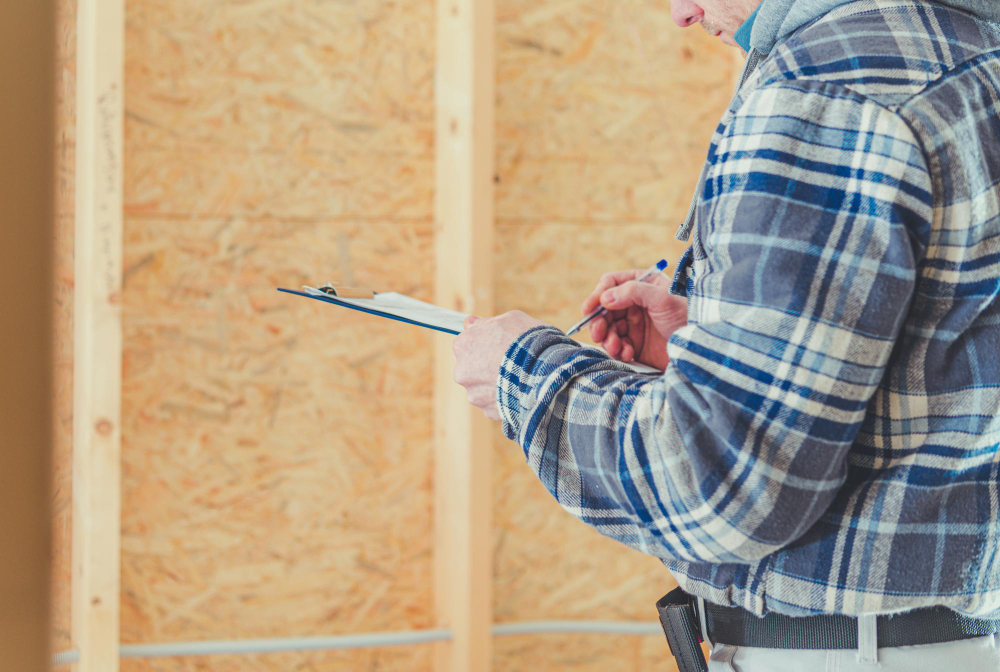
Contractors provide detailed reports with photos of problem areas. They track changes over time to identify developing issues. Early detection prevents major structural damage and health hazards.
Professional maintenance extends attic system life by 5-10 years. It also maintains home energy efficiency and prevents pest infestations that thrive in humid environments.
Conclusion
Attic humidity problems require prompt attention to prevent serious damage. Homeowners who ignore these issues often face expensive repairs later.
The right balance of insulation and ventilation is essential. Good insulation reduces heat transfer while effective ventilation controls moisture levels.
Temperature changes and seasonal weather create perfect conditions for condensation. Spring and summer bring the highest risk for moisture buildup.
Signs of trouble include mold growth, water damage, and higher energy bills. These problems stem from poor airflow and excess humidity.
Regular inspections help catch problems early. Homeowners should check their attics at least twice per year.
Proper action protects the home's structure and improves living conditions. The investment in humidity control pays off through avoided damage and better air quality.
Attic moisture management is not optional for long-term home health. Those who take action early save money and prevent major headaches.
Schedule an attic moisture and ventilation assessment with Terra Insulation, book a site visit or request a written, itemized quote to prevent mold and structural damage.