Spray foam insulation offers the best solution for crawl spaces because it seals gaps, blocks moisture, and creates an effective thermal barrier that other materials cannot match.
Crawl spaces create unique problems for homeowners, from moisture buildup to energy loss that drives up heating and cooling bills. Traditional insulation often fails in these damp, hard-to-reach areas where temperature changes and limited airflow make conditions challenging.
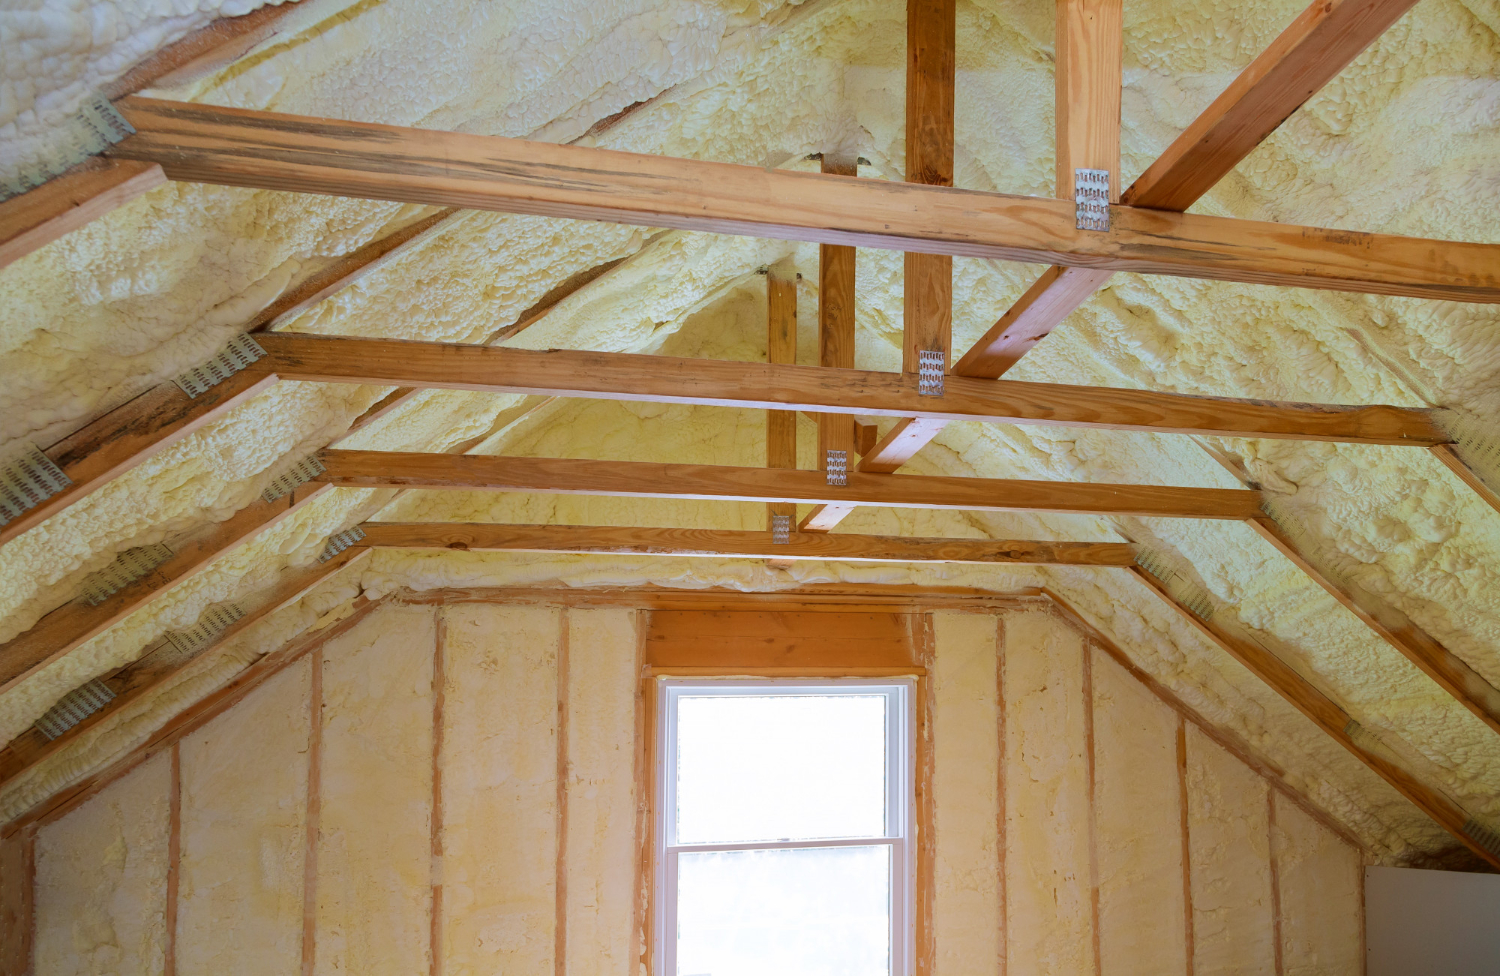
This type of insulation expands to fill cracks and spaces around pipes, wires, and uneven surfaces that fiberglass and other materials leave open.
Understanding the different types of spray foam, installation costs, and proper application methods helps homeowners make smart decisions about protecting their crawl spaces.
In this article, you’ll learn how spray foam insulation for crawl spaces improves energy efficiency, reduces moisture, and protects your home’s structure.
Below, we’ll walk through each important aspect.
- Why spray foam helps crawl spaces stay dry and comfortable
- Choosing between open cell and closed cell under the floor
- Cost, coverage, and what affects the price
- Installation steps that avoid future headaches
Keep reading! The right approach can reduce energy bills by 30% to 50% while preventing mold, pests, and structural damage from moisture problems.
Why spray foam helps crawl spaces stay dry and comfortable
Spray foam creates an air barrier that stops moisture and drafts while providing thermal protection. This combination keeps crawl spaces dry and makes floors above more comfortable year-round.
Air sealing that blocks humid air and chilly drafts
Spray foam expands to fill every crack and gap in crawl space walls and rim joists. This creates a complete air seal that traditional insulation cannot match.
The foam blocks humid outdoor air from entering the crawl space during summer months. Without this moisture source, the space stays drier and reduces the risk of mold growth.
Key areas where spray foam seals air leaks:
- Rim joists where floors meet foundation walls
- Gaps around pipes and electrical penetrations
- Cracks in concrete block or poured foundation walls
- Areas where sill plates meet foundation tops
Cold drafts also get stopped by the foam barrier. These drafts normally make floors above feel cold and uncomfortable during winter.
The air sealing reduces the stack effect in homes. This means less conditioned air escapes through the top of the house, which reduces energy costs.
Insulation that cuts condensation on ducts and subfloors
Spray foam keeps crawl space temperatures closer to indoor temperatures. This temperature control prevents condensation from forming on cold surfaces.
The U.S. Environmental Protection Agency (EPA) recommends maintaining relative humidity below approximately 65% in crawl spaces to prevent condensation, mold growth, and structural deterioration.
Ductwork in crawl spaces often develops condensation when humid air meets cold metal surfaces. The insulation layer from spray foam keeps duct surfaces warmer.
Surfaces protected from condensation:
- HVAC ducts and fittings
- Water pipes and plumbing
- Subfloor materials like plywood or OSB
- Floor joists and structural members
Subfloors stay warmer with spray foam on the walls instead of between floor joists. This approach treats the crawl space as conditioned space rather than outdoor space.
Closed-cell spray foam provides the best moisture protection. It acts as both insulation and a vapor barrier in one application.
Fresher indoor air with fewer musty odors
Spray foam crawl space insulation reduces moisture that feeds mold and mildew growth. Less moisture means fewer musty smells entering the home above.
The air sealing prevents soil gases from entering through foundation cracks. These gases often carry earthy or musty odors into living spaces.
Common odor sources blocked by spray foam:
- Mold growing on damp wood surfaces
- Mildew on stored items or cardboard boxes
- Soil gases rising through foundation cracks
- Stagnant air mixing with outdoor humidity
Treated crawl spaces have better air quality because they stay drier. The foam prevents the cycle of moisture buildup that creates bad smells.
Indoor air quality improves when crawl spaces are properly sealed and insulated. Many homes pull some air from crawl spaces through natural air movement patterns.
Choosing between open cell and closed cell under the floor
Open cell foam costs less and expands more, while closed cell foam offers better moisture protection and higher R-values. The right choice depends on your crawl space's moisture conditions, budget, and whether you need structural support.
When open cell makes sense for access, sound, and budget
Open cell foam works well in dry crawl spaces where moisture isn't a major concern. It costs about 30-50% less than closed cell foam, making it attractive for budget-conscious homeowners.
This type of foam expands more during application. It fills gaps and cracks better in irregular spaces. The expansion helps create good air sealing around pipes and joists.
Open cell benefits include:
- Lower upfront costs
- Better sound dampening properties
- Easier to cut through for future repairs
- Good air sealing capabilities
The foam stays softer after it cures. This makes it easier to access utilities later. Plumbers and electricians can cut through it without much trouble.
Open cell foam doesn't act as a vapor barrier. It allows some moisture to pass through. This works fine in crawl spaces with good drainage and no moisture problems.
When closed cell is better for moisture resistance and R-value
Closed cell foam performs better in wet or humid crawl spaces. It creates a complete moisture barrier and resists water damage. The dense structure blocks both air and water vapor.
This foam type provides about twice the R-value per inch compared to open cell. You get more insulation value in less space. This matters when headroom is limited in your crawl space.
Closed cell advantages:
- Acts as vapor barrier
- Higher R-value (R-6 to R-7 per inch)
- Adds structural strength
- Resists mold and moisture
The rigid structure adds some strength to floor joists. It won't compress or sag over time. This makes it good for areas with potential flooding or high humidity.
Closed cell costs more upfront but may save money long-term. It prevents moisture problems that could damage wood framing or cause mold growth.
Spray foam crawl space encapsulation: Do you still need a vapor barrier?
Closed cell foam acts as its own vapor barrier when applied thick enough. Most building codes require at least 2 inches for vapor barrier properties. You don't need plastic sheeting over closed cell foam.
Open cell foam is not a vapor barrier. It allows moisture to pass through. You may need additional vapor barriers depending on your climate and local codes.
Vapor barrier requirements:
- Closed cell (2+ inches): No additional barrier needed
- Open cell: May require separate vapor barrier
- Check local building codes for specific requirements
Some contractors still install plastic vapor barriers even with closed cell foam. This adds extra protection but isn't usually necessary. The foam itself provides excellent moisture control.
Building inspectors may have different requirements. Always check local codes before starting your project. Some areas have specific rules about vapor barriers in crawl spaces.
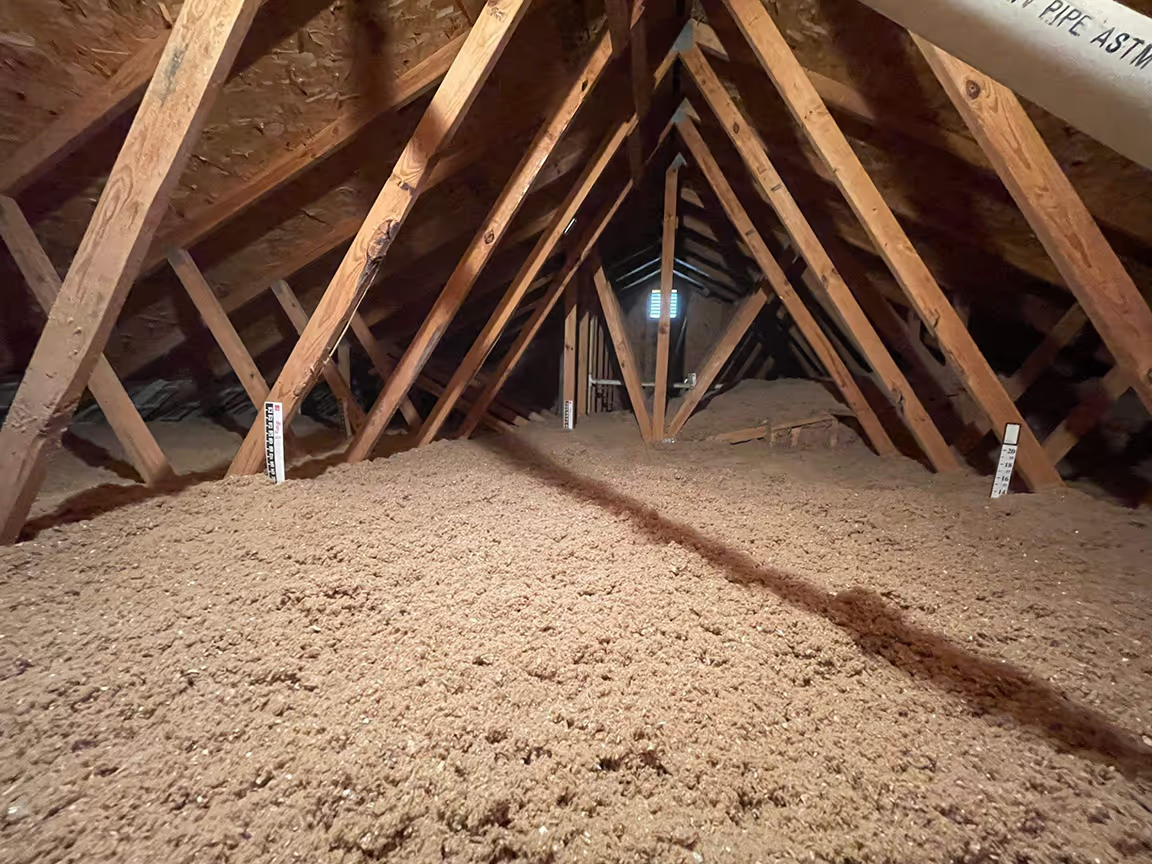
Crawl space foam insulation vs fiberglass and what actually changes
Crawl space foam insulation eliminates many problems that fiberglass creates. Fiberglass batts often sag, get wet, and lose their insulation value. Foam stays in place and doesn't absorb water.
Air sealing improves dramatically with foam. Fiberglass doesn't seal air gaps around pipes and joists. Foam expands to fill these spaces completely.
Key differences from fiberglass:
- No sagging or falling down
- Complete air sealing
- Moisture resistance
- No insect or rodent nesting
- Higher R-value per inch
According to the U.S. Department of Energy’s ENERGY STAR program, a properly sealed, moisture-protected, and continuously insulated crawl space can improve comfort, reduce energy costs, enhance durability, and lower the entry of mold, soil gases, and other pollutants.
Energy bills typically drop more with foam than fiberglass. The air sealing prevents drafts and reduces heating and cooling costs. Many homeowners see 15-30% savings on energy bills.
Foam application requires professional installation. Fiberglass can be a DIY project. The higher upfront cost of foam usually pays back through energy savings within 5-10 years.
The crawl space environment changes significantly. Foam creates a semi-conditioned space that stays drier and more stable in temperature.
Cost, coverage, and what affects the price
Crawl space spray foam insulation costs $2 to $5 per square foot, with total projects ranging from $1,200 to $6,700. A 55-gallon drum typically covers 2,000 to 4,000 square feet depending on thickness, while factors like access difficulty and prep work significantly impact final quotes.
How much it costs to spray foam a crawl space
Professional spray foam installation in crawl spaces costs between $2 to $5 per square foot. Most homeowners pay $1,200 to $6,700 for complete crawl space projects.
Open-cell foam runs $1.25 to $2.75 per square foot. This type works well for basic moisture control and moderate insulation needs.
Closed-cell foam costs $2.75 to $4.75 per square foot. It provides superior moisture barriers and higher R-values for better energy efficiency.
DIY spray foam kits cost $0.75 to $2.00 per square foot. These kits require proper equipment and safety gear to apply correctly.
Average crawl space sizes and costs:
- 800 sq ft crawl space: $1,600 - $4,000
- 1,200 sq ft crawl space: $2,400 - $6,000
- 1,600 sq ft crawl space: $3,200 - $8,000
Most contractors recommend closed-cell foam for crawl spaces. It blocks moisture better and prevents mold growth in humid conditions.
What a 55-gallon drum covers and why results vary
A 55-gallon drum of spray foam typically covers 2,000 to 4,000 square feet at 1-inch thickness. Coverage drops significantly with thicker applications needed for higher R-values.
Coverage varies based on thickness:
- 1 inch thick: 3,000-4,000 sq ft
- 2 inches thick: 1,500-2,000 sq ft
- 3 inches thick: 1,000-1,300 sq ft
Temperature affects coverage amounts. Cold weather reduces foam expansion and lowers coverage per drum.
Closed-cell foam covers less area than open-cell because it's denser. A drum typically covers 2,000 square feet at 1-inch thickness.
Open-cell foam expands more and covers 3,000 to 4,000 square feet per drum at the same thickness.
Spray pattern and operator skill impact coverage. Experienced installers waste less material and achieve more consistent thickness.
Size, height, access, and prep that change the quote
Crawl space conditions directly affect installation costs beyond basic square footage calculations. Difficult access points and low ceiling heights slow down work and increase labor costs.
Height clearance under 3 feet adds $0.50 to $1.00 per square foot. Workers move slower and need frequent breaks in cramped spaces.
Access difficulties like narrow openings or blocked pathways increase costs by 15% to 30%. Contractors need extra time to move equipment and materials.
Moisture problems require prep work before installation. Removing standing water, fixing leaks, and drying surfaces adds $500 to $1,500 to projects.
Debris removal costs $200 to $800 depending on the amount. Old insulation, construction waste, and stored items must be cleared first.
Electrical or plumbing obstacles slow installation and may require careful masking. Complex layouts with many penetrations add 10% to 20% to total costs.
Remote locations increase travel costs. Projects more than 50 miles from contractors typically include fuel surcharges.
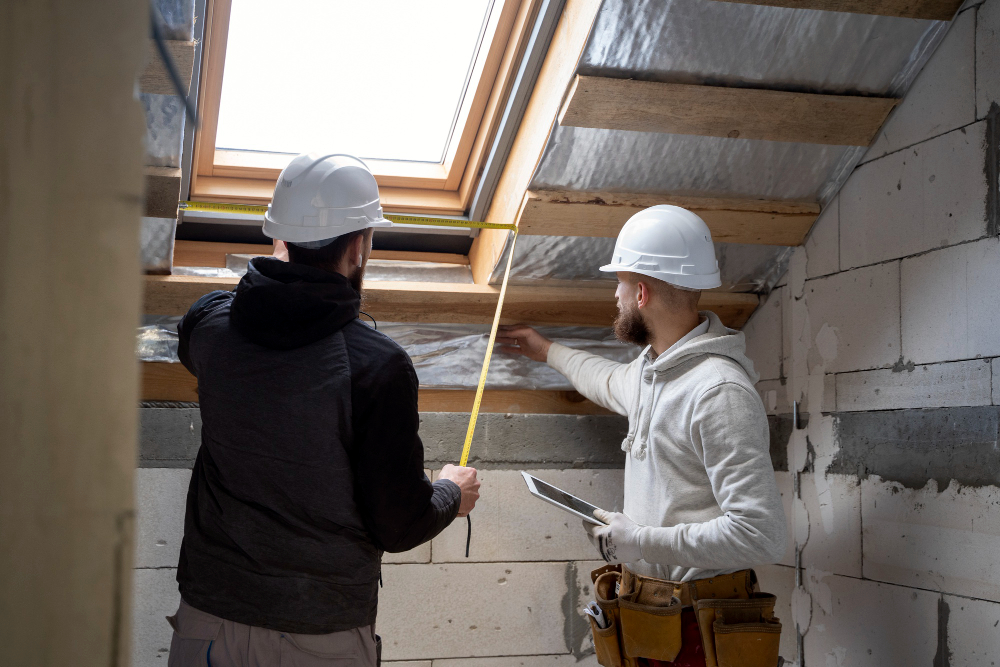
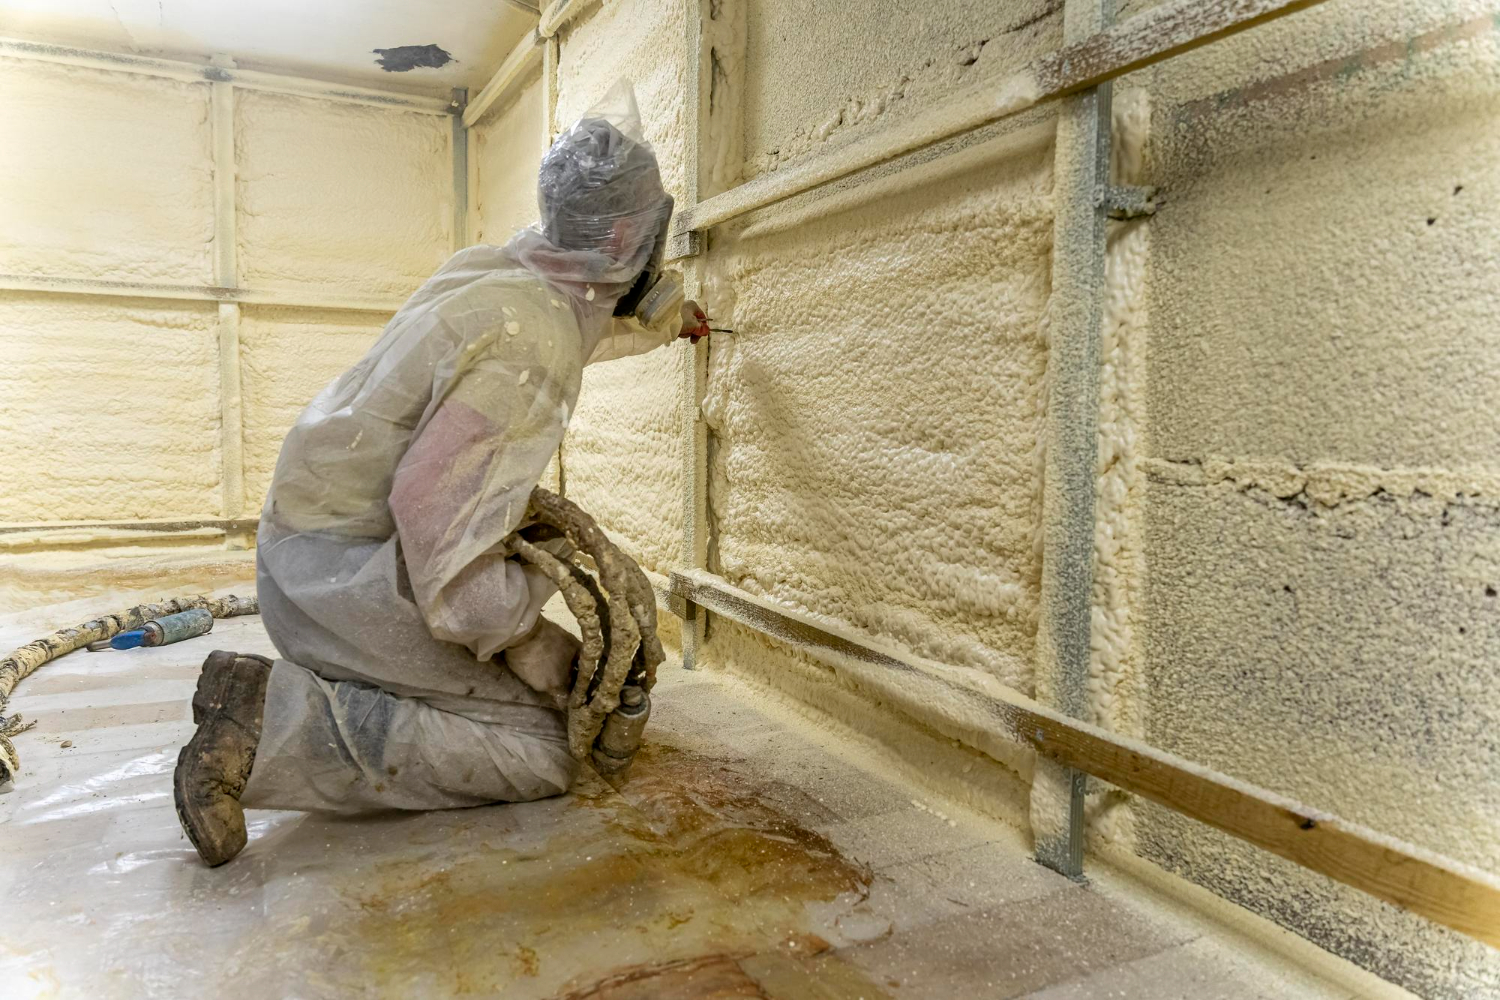
Installation steps that avoid future headaches
Proper preparation and attention to critical details during installation prevent moisture problems, structural damage, and code violations that cost thousands to fix later. Professional installers focus on surface prep, inspection requirements, and mechanical system coordination.
Drying, cleaning, and surface prep before any spray
Standing water must be removed completely before any foam application begins. Install drainage systems or sump pumps if water problems exist.
Clean all surfaces of dirt, debris, and loose materials. Sweep or vacuum the entire crawl space floor and walls.
Critical moisture levels:
- Wood moisture content below 19%
- Concrete surfaces completely dry
- No visible condensation on pipes or ducts
Remove old insulation materials that trap moisture or contain mold. Fiberglass batts and cellulose hold water against surfaces.
Seal major air leaks in the foundation walls first. Use appropriate sealants for cracks larger than 1/4 inch before foam application.
Test surfaces with a moisture meter. Wet surfaces prevent proper foam adhesion and create future delamination problems.
Termite inspection gaps and code notes you shouldn't skip
Most building codes require a 3-inch inspection gap between foam insulation and ground level. This gap allows pest control professionals to see termite mud tubes.
Check local code requirements before starting work. Some areas require specific foam types or fire ratings for crawl space applications.
Install termite shields or inspection strips where required. Metal flashing creates visible barriers that don't hide insect activity.
Code compliance checklist:
- Inspection gap maintained
- Fire-rated foam in living areas
- Proper vapor barrier installation
- Electrical work meets standards
Schedule inspections at required stages. Many jurisdictions require approval before covering foam with protective barriers.
Document the installation with photos. This helps with future warranty claims and code compliance verification.
Venting, rim joists, and pipes: spots pros pay attention to
Seal rim joists completely where floor systems meet foundation walls. These areas create major air leakage if not properly insulated.
Install foam around all pipe penetrations and utility lines. Use appropriate foam types that won't damage different pipe materials.
HVAC system modifications needed:
- Close foundation vents permanently
- Extend ductwork properly into conditioned space
- Install whole-house dehumidification
- Adjust ventilation calculations
Pay special attention to electrical boxes and wiring. Use fire-rated foam products near electrical components.
Coordinate with other trades before foam application. Plumbing, electrical, and HVAC work should be completed first.
Leave access panels for future maintenance needs. Don't foam over shut-off valves or service connections.
DIY or pro install and when a contractor is worth it
Professional installation makes sense for crawl spaces larger than 500 square feet or with complex mechanical systems. Contractors have specialized equipment and experience with code requirements.
DIY challenges include:
- Proper surface preparation
- Achieving correct foam thickness
- Managing chemical safety requirements
- Meeting building code standards
Licensed contractors carry insurance for property damage and health issues. They also guarantee work quality and code compliance.
Consider professional help if moisture problems exist or structural repairs are needed first. These issues require specialized knowledge and equipment.
DIY foam kits work for small areas under 200 square feet with simple layouts. Larger projects need professional spray equipment for consistent results.
Professional installers coordinate with building inspectors and handle permit requirements. This saves time and prevents code violation problems.
Conclusion
Spray foam insulation stands out as the top choice for crawl spaces. It creates an effective air barrier that stops drafts and moisture from entering the home.
This type of insulation reaches into small gaps and cracks where other materials cannot go. The result is better coverage and fewer air leaks.
The Building Science Corporation backs spray foam as the best option for crawl spaces. It performs better than traditional fiberglass in these areas.
However, homeowners should consider some drawbacks. Spray foam can be more expensive than other options. It also makes future repairs or modifications harder to complete.
The investment often pays off through lower energy bills and improved comfort. Homes with spray foam crawl space insulation typically see better temperature control year-round.
Each home situation is different. Homeowners should get quotes from qualified contractors and compare options. The right choice depends on budget, climate, and long-term plans for the home.
Spray foam insulation can solve many crawl space problems when installed correctly by experienced professionals.
Schedule a crawl space insulation assessment today to get an accurate quote and ensure proper installation for long-term efficiency and moisture protection.