When choosing insulation for your home, spray foam insulation vs fiberglass is one of the first comparisons homeowners make. Both materials can keep your house warm in winter and cool in summer, but they have different costs, installation methods, and performance levels.
Spray foam insulation performs better than fiberglass in most situations because it seals air gaps and has higher insulating power per inch. However, fiberglass costs less upfront and works well in many homes. The right choice depends on your budget, climate, and specific needs.
Each type of insulation has specific places where it works best, different long-term costs, and unique benefits that matter for different homeowners.
In this article, you’ll learn how to compare spray foam insulation vs fiberglass to make the best choice for your home. Below, we’ll walk through each important aspect:
- Key differences between spray foam and fiberglass
- Where each insulation works best
- Cost, payback, and what changes the price
- Common concerns answered
- Plan the job and choose with confidence
Keep reading! Understanding how these materials compare will help you make the best decision for your project.
Key differences between spray foam and fiberglass
Spray foam creates an air barrier that stops drafts while fiberglass allows air movement through gaps. Each material handles moisture differently and offers distinct comfort benefits for homeowners.
Air sealing and R-value per inch explained in plain terms
Spray foam provides approximately R-6 to R-7 per inch, while fiberglass performance varies more by density and cavity depth. According to the U.S. Department of Energy, high-density fiberglass batts in a 2×4 wall deliver about R-15, compared to R-11 for low-density types. In deeper cavities, high-density fiberglass can reach R-30 at 8.5 inches and up to R-38 in 12-inch attic batts
The biggest difference is air sealing. Spray foam expands to fill cracks and gaps completely. It creates an airtight barrier that stops air leaks.
Fiberglass does not seal air gaps. Air moves freely around and through fiberglass batts. This air movement reduces the actual performance below the listed R-value.
Material
R-Value Per Inch
Air Sealing
Spray Foam
R-6 to R-7
Excellent
Fiberglass
R-3 to R-4
None
Thermal bridging happens when heat moves through wall studs around fiberglass. Spray foam stops this heat transfer by covering the entire surface area.
Moisture behavior and mold questions homeowners ask
Closed-cell spray foam blocks moisture completely. It acts as both insulation and a vapor barrier. This prevents water from entering wall cavities.
Open-cell spray foam allows some moisture to pass through. Homeowners need to add a separate vapor barrier in humid climates.
Fiberglass insulation absorbs moisture when it gets wet. Wet fiberglass loses its insulating ability until it dries out completely. This can take weeks or months.
Mold growth risks differ between materials:
Spray foam resists mold because it contains no organic materials
Fiberglass can develop mold when moisture gets trapped
Paper backing on fiberglass provides food for mold growth
Proper installation matters for both materials. Poor installation creates moisture problems regardless of insulation type.
Sound control, drafts, and day-to-day comfort
Spray foam stops drafts by sealing every crack and gap. Homeowners notice fewer cold spots and more even temperatures throughout their homes.
Fiberglass allows air movement that creates drafts. These drafts make rooms feel colder even when the thermostat reads the same temperature.
Sound control differences:
Spray foam reduces noise transmission between rooms
Fiberglass provides some sound dampening but allows more noise through gaps
Both materials help with outside noise reduction
Temperature consistency improves more with spray foam. Rooms stay closer to the thermostat setting because conditioned air cannot escape through gaps.
Humidity control works better with spray foam insulation. The air sealing prevents humid outdoor air from entering during summer months. This reduces the load on air conditioning systems.
Where each insulation works best
The best insulation choice depends on the specific area of your home and your project goals. Spray foam excels in challenging spaces while fiberglass works well for standard applications and tight budgets.
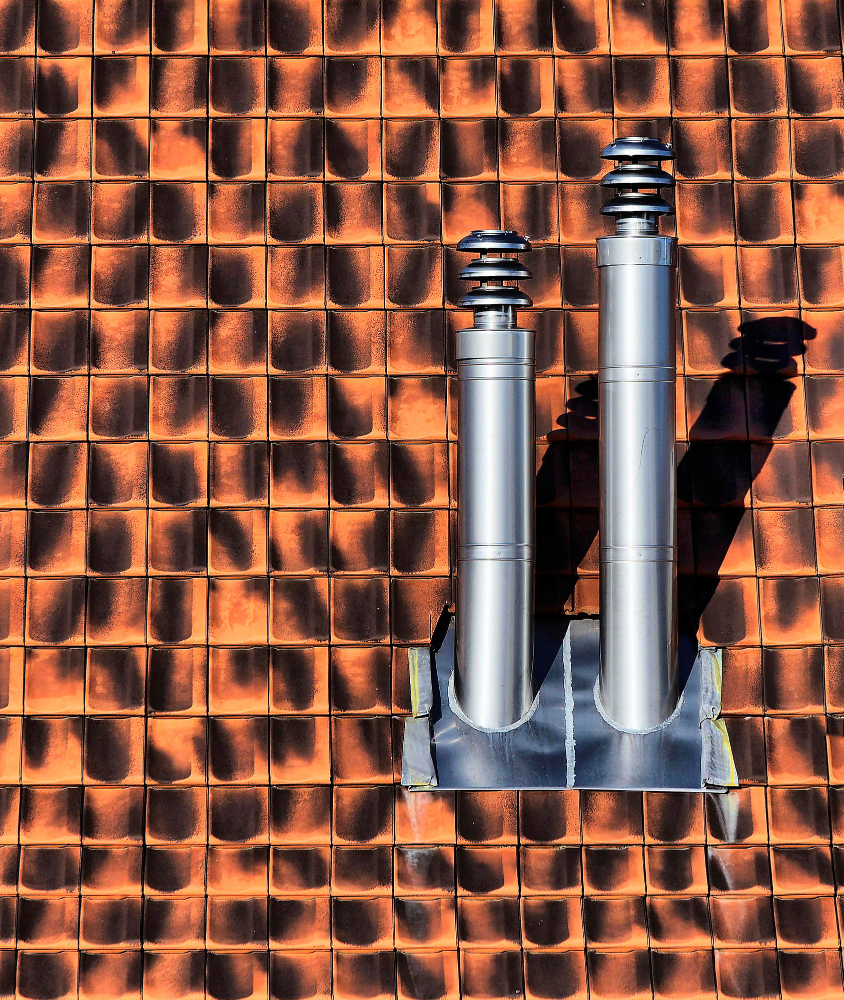
Spray foam insulation for tricky gaps, roofs, and tight spaces
Spray foam handles difficult installation areas that fiberglass cannot reach effectively. It expands to fill irregular gaps around pipes, wires, and structural elements.
Crawl spaces benefit from spray foam's air sealing properties. The material blocks moisture and prevents drafts that fiberglass often misses.
Rim joists are ideal for spray foam application. These narrow spaces between floor joists are hard to insulate properly with fiberglass batts.
Spray foam works best in these locations:
Attic roof lines and cathedral ceilings
Basement walls below grade
Around window and door frames
HVAC ducts and mechanical penetrations
Retrofit projects favor spray foam because it fills existing wall cavities without removing drywall. Homeowners can upgrade insulation through small access holes.
Extreme climates need spray foam's superior thermal performance. Cold regions benefit from its higher R-value per inch and complete air barrier protection.
Fiberglass insulation for open cavities and budget-friendly upgrades
Fiberglass insulation performs well in standard construction with accessible wall and ceiling cavities. It costs significantly less than spray foam for large areas.
New construction projects use fiberglass efficiently. Builders can install batts or blown-in fiberglass quickly in open framing before drywall installation.
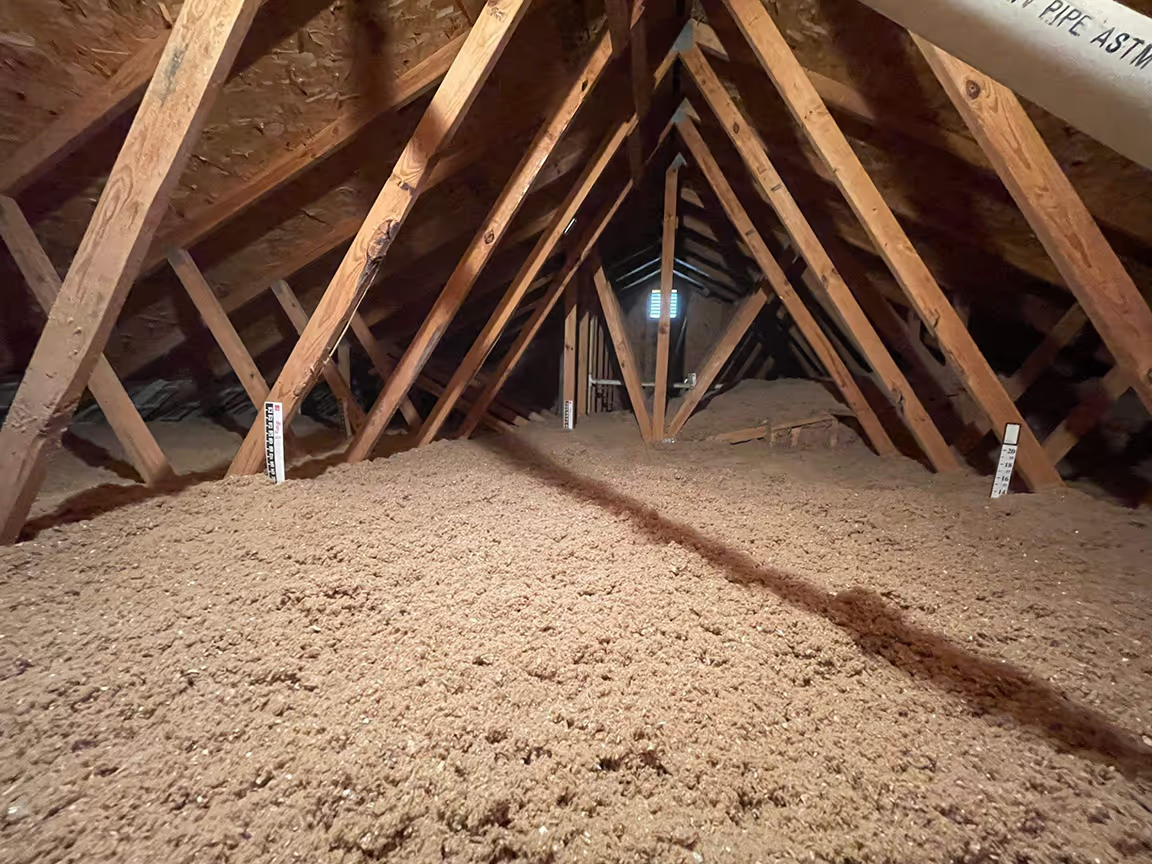
Attic floors are perfect for fiberglass insulation. Homeowners can easily roll out batts or blow in loose-fill material between ceiling joists.
Standard wall cavities work well with fiberglass when properly installed. The material must fit snugly without gaps or compression to maintain effectiveness.
Moderate climates suit fiberglass insulation needs. Areas without extreme temperature swings don't require spray foam's premium performance levels.
DIY projects often use fiberglass because it requires basic tools and skills. Homeowners can install batts themselves with proper safety equipment and techniques.
Spray foam or fiberglass together and mixed assemblies that balance cost and comfort
Many homes use both insulation types strategically to optimize performance and control costs. This approach targets spray foam where it matters most while using fiberglass for basic coverage.
Hybrid installations place spray foam in problem areas like rim joists and air leaks. Fiberglass handles the remaining standard cavity spaces throughout the home.
Builders often spray foam exterior walls for air sealing, then use fiberglass in interior partitions and attic floors. This combination reduces energy costs without doubling the insulation budget.
Phased upgrades let homeowners improve insulation over time. They might start with spray foam in the basement, then add fiberglass to the attic during the next project phase.
Critical areas get spray foam priority:
Air leakage points
Moisture-prone locations
Hard-to-reach spaces
Extreme temperature zones
Budget-friendly areas use fiberglass effectively when air sealing is handled separately with caulk and weatherstripping materials.
Cost, payback, and what changes the price
Spray foam costs more upfront but offers better long-term savings through energy efficiency. Fiberglass provides immediate cost savings for budget-conscious projects with simpler installation needs.
How much it costs to spray foam a 2,000 sq ft home
Spray foam insulation for a 2,000 square foot home typically costs between $2,000 and $6,000. The price depends on the type of spray foam used and the areas being insulated.
Open-cell spray foam costs $1.00 to $1.50 per square foot. This type works well for interior walls and smaller spaces.
Closed-cell spray foam ranges from $1.50 to $3.00 per square foot. It provides better insulation but costs more than open-cell options.
Several factors affect the total price:
Attic insulation: $1,500 to $3,500 for most homes
Crawl space: $1,200 to $2,800 depending on size
Basement walls: $2,000 to $4,000 for full coverage
Labor makes up about 60% of the total cost. Areas that are hard to reach cost more to insulate.
The thickness needed also changes the price. Most homes need 2 to 6 inches of spray foam for proper insulation.
When fiberglass wins on upfront price and quick installs
Fiberglass insulation costs between $0.40 and $1.50 per square foot installed, making it one of the most affordable options for whole-house coverage.
A 2,000 square foot home typically requires $800 to $3,000 worth of fiberglass insulation, which provides immediate cost savings for budget-conscious homeowners.
Installation is fast, with most projects completed in one to two days, and DIY installation can lower costs further.
Spray foam takes 2 to 4 days because it needs time to cure between applications. The slower process increases labor costs.
DIY potential makes fiberglass even cheaper. Homeowners can install batt insulation themselves and save on labor costs entirely.
Spray foam requires professional equipment and training. The chemicals need proper handling and safety gear that most homeowners don't have.
Replacement costs favor fiberglass too. Damaged sections can be replaced easily without affecting surrounding areas.
Energy savings, rebates, and timelines to break even
Spray foam typically saves 20% to 50% more on energy bills compared to fiberglass. These savings help offset the higher upfront costs over time.
Monthly savings vary by home size and local energy costs:
Home Size
Spray Foam Savings
Fiberglass Savings
1,500 sq ft
$40-80/month
$25-50/month
2,000 sq ft
$60-120/month
$35-70/month
2,500 sq ft
$80-150/month
$50-90/month
The U.S. Department of Energy notes that adding insulation to most existing homes commonly reduces heating and cooling costs and — when measures are cost-effective — can recover the initial investment within a few years. For spray foam insulation, homeowners typically see payback in about 3 to 7 years, while fiberglass often pays back faster in 1 to 3 years, depending on energy prices, climate, and installation quality.
Tax credits and rebates can reduce costs significantly. Many utilities offer rebates of $500 to $2,000 for high-efficiency insulation upgrades.
The federal tax credit covers 30% of insulation costs through 2032. This credit applies to both spray foam and fiberglass installations.
Home value increases add another benefit. Energy-efficient homes sell for 3% to 5% more than similar homes without proper insulation.
Common concerns answered
Spray foam insulation raises questions about potential drawbacks, insurance coverage, and home resale value. Understanding these issues and their solutions helps homeowners make informed decisions.
Negatives of spray foam insulation and easy ways to avoid them
Poor installation creates most spray foam problems. Off-ratio mixing produces foam that stays sticky or shrinks over time. Homeowners can avoid this by hiring certified installers who use proper equipment.
Chemical odors occur when foam doesn't cure correctly. This happens when installers rush the process or mix chemicals incorrectly. Quality contractors allow proper curing time and maintain ideal temperature conditions.
Overspray damage affects nearby surfaces and electrical components. Professional installers protect these areas with plastic sheeting and tape before starting work.
High upfront costs concern many homeowners. Getting multiple quotes helps find competitive pricing. Some contractors offer financing options to spread costs over time.
Difficulty with future modifications makes electrical or plumbing changes harder. Homeowners should complete major renovations before installing spray foam. Documenting wire and pipe locations helps future contractors.
Proper ventilation prevents moisture issues. Installers must leave space around bathroom and kitchen vents. This prevents foam from blocking airflow.
Why some insurers hesitate, and how proper documentation helps
Insurance companies worry about fire ratings and off-gassing from poorly installed spray foam. Some insurers require additional documentation or raise premiums for homes with spray foam.
Certification records solve most insurance concerns. Homeowners should keep installation certificates, product data sheets, and warranty information. These documents prove professional installation and code compliance.
Third-party inspections provide extra assurance. Some insurers prefer reports from independent building inspectors. These inspections verify proper application and curing.
Building permits demonstrate code compliance. Permitted installations undergo municipal inspections. This official approval carries weight with insurance companies.
Product specifications matter to insurers. Class A fire-rated foams receive better treatment than lower-rated products. Closed-cell foam typically faces fewer insurance questions than open-cell varieties.
Communication prevents problems. Homeowners should contact their insurance agent before installation. This discussion reveals specific documentation requirements and prevents coverage surprises.
Selling a home with spray foam: what inspectors look for
Home inspectors focus on installation quality during property assessments. They check for proper adhesion, complete coverage, and appropriate thickness. Well-installed foam adds value to home sales.
Curing completeness receives close attention. Inspectors look for soft spots, discoloration, or strong chemical smells. These signs indicate installation problems that buyers might request repairs for.
Code compliance documentation speeds sales. Inspectors verify building permits and inspection records. Missing paperwork raises red flags for potential buyers.
Electrical safety concerns inspectors when foam contacts wiring. Proper installation leaves clearance around electrical components. Foam touching hot fixtures creates fire hazards.
Ventilation pathways must remain clear. Inspectors ensure bathroom fans, dryer vents, and HVAC systems work properly. Blocked ventilation creates moisture and air quality problems.
Access panels help future maintenance. Smart installers create removable sections near important systems. This foresight prevents major removal costs later.
Buyers often request spray foam warranties during negotiations. Original installation warranties transfer to new owners in most cases.
Plan the job and choose with confidence
Building codes set clear rules for insulation projects, and proper prep work prevents costly mistakes. Getting accurate quotes from contractors helps homeowners make smart decisions about their insulation upgrade.
Code targets, R-values, and ventilation that keep you on spec
Local building codes require specific R-values for different parts of a home. Attics typically need R-38 to R-60 depending on the climate zone. Walls usually require R-13 to R-21.
Spray foam provides higher R-values per inch than fiberglass. Closed-cell spray foam offers R-6 to R-7 per inch. Open-cell spray foam gives R-3.5 to R-4 per inch. Fiberglass batts provide R-2.9 to R-3.8 per inch.
Ventilation requirements vary by insulation type:
Spray foam can seal air gaps but may require controlled ventilation
Fiberglass needs proper air barriers to work well
Both types must allow for required roof ventilation in attic spaces
Contractors should check local codes before starting work. Some areas have restrictions on spray foam use near electrical fixtures or in certain building types.
Prep, thickness checks, and cure time for clean results
Spray foam installation requires careful surface prep. Workers must clean debris and seal major air leaks first. The area needs to be dry and at the right temperature.
Spray foam timing considerations:
Open-cell foam cures in 4-8 hours
Closed-cell foam cures in 2-6 hours
Temperature affects cure time
Humidity can slow the process
Fiberglass installation moves faster but needs attention to detail. Batts must fit snugly without gaps or compression. Workers should wear protective gear during installation.
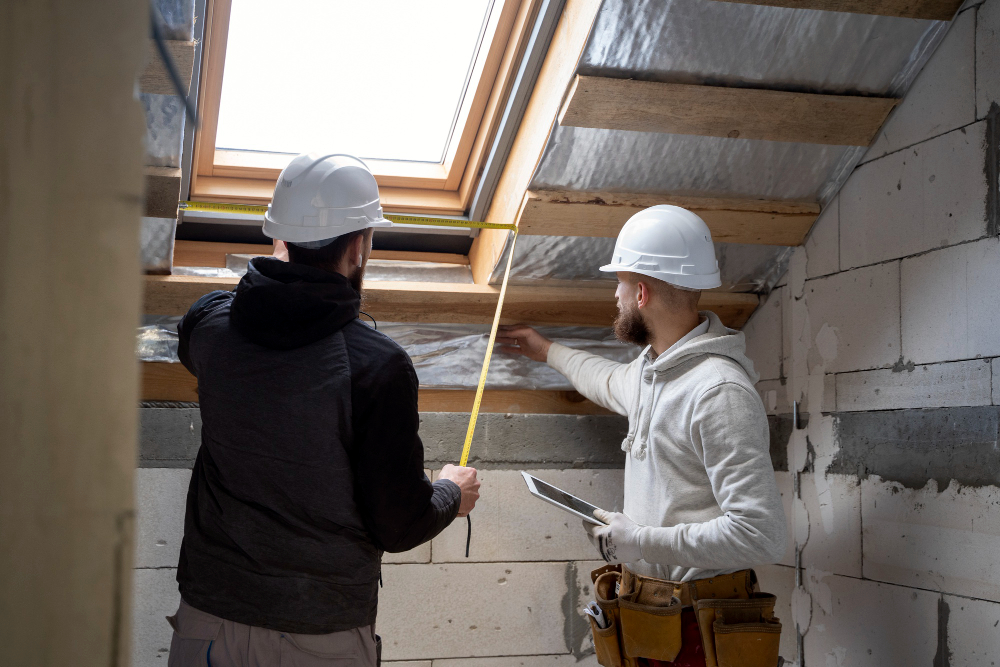
Thickness checks ensure proper R-values. Spray foam contractors use depth gauges to verify coverage. Fiberglass installers check that batts fill the cavity completely without bulging.
Want a side-by-side quote? Terrain Insulation can compare both options and price your project
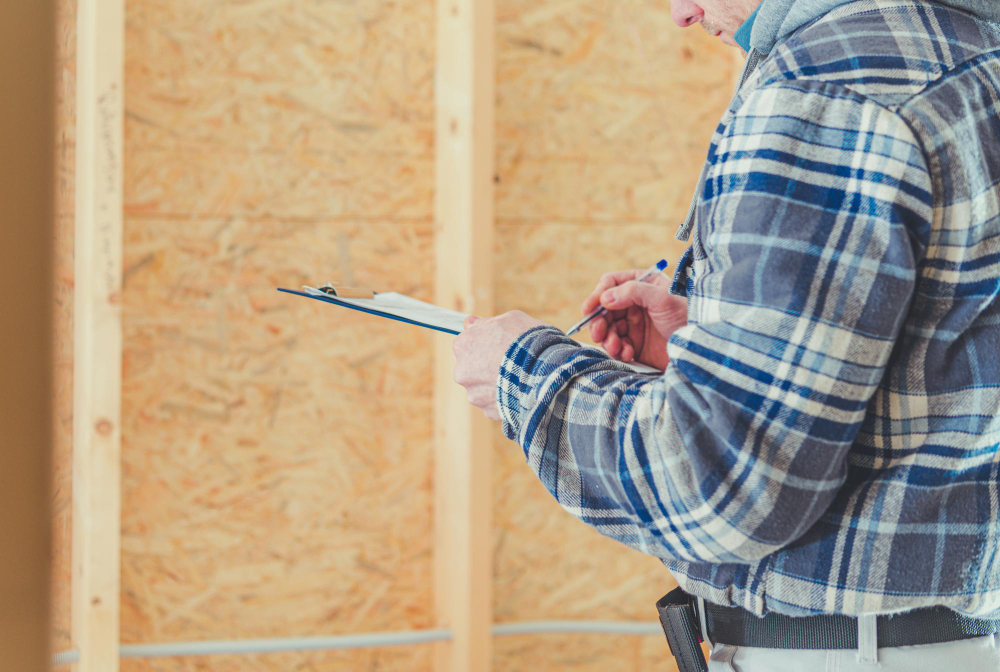
Professional quotes should break down material and labor costs separately. This helps homeowners understand where their money goes and compare options fairly.
Key items to request in quotes:
Square footage calculations
R-value targets for each area
Material specifications and brands
Labor timeline and crew size
Warranty terms and coverage
Contractors should visit the site before giving final prices. Photos and measurements from a phone call often miss important details that affect cost.
Getting quotes for both spray foam and fiberglass allows direct comparison. Some homes benefit from a mixed approach using both materials in different areas.
Conclusion
The choice between spray foam insulation vs fiberglass comes down to your home’s needs and budget. Spray foam delivers higher R-values per inch, superior air sealing, and long-term energy savings, while fiberglass offers lower upfront cost and simpler installation.
Consider the climate where the home is located. Spray foam performs better in extreme weather conditions. Fiberglass may be adequate in mild climates.
Think about long-term savings versus immediate costs. Spray foam typically pays for itself through energy savings. Fiberglass requires less initial investment but may cost more over time.
Both materials improve comfort and efficiency, but the right decision depends on climate, project scope, and financial priorities. Professional installation ensures either option performs at its best.
Schedule a professional insulation assessment today to get a precise quote for spray foam or fiberglass installation in your home.