When summer heat beats down on our roofs, our homes can become uncomfortably warm and expensive to cool. Radiant barrier installation involves placing reflective materials in our attics or under roof decks to bounce heat away from our living spaces, keeping indoor temperatures cooler during hot months. This simple upgrade works by blocking radiant heat transfer before it reaches our home's interior.
Most homeowners don't realize how much heat enters through their roof and attic space. A radiant barrier acts like a mirror for heat energy, reflecting it back outside instead of letting it warm up our attic air and living areas below. This means our air conditioning systems don't have to work as hard to maintain comfortable temperatures.
We'll explore exactly how these barriers protect our homes from heat, the best installation methods and locations, and what we can expect in terms of costs and energy savings.
Below, we’ll walk through each important aspect:
- How radiant barriers protect your home from heat
- Where and how to install a radiant barrier for best results
- Understanding the cost and long-term value
- Benefits and possible drawbacks
- Choosing the right professional installer
Keep reading! Understanding these basics helps us make smart decisions about improving our home's comfort and efficiency year-round.
How radiant barriers protect your home from heat
Radiant barriers work by reflecting heat away from your living spaces instead of absorbing it like traditional materials. They create a protective shield that stops radiant heat transfer before it can warm your attic and home interior.
How radiant attic barriers reflect summer heat before it enters
When sunlight hits your roof, it heats up the roofing materials throughout the day. This hot roof then radiates heat energy down into your attic space.
Without a radiant barrier, this heat moves directly to:
- Attic insulation
- Ductwork
- Attic floor
- Air inside the attic
An attic radiant barrier changes this process completely. The reflective surface bounces up to 97% of radiant heat back toward the roof deck.
This heat reflection happens before the energy can warm your attic air. The barrier works best when installed perpendicular to the heat source.
We see the biggest benefits during peak summer hours. Your attic stays much cooler when radiant heat gets reflected away instead of absorbed.
The barrier also helps in winter by reflecting heat back down into your living space. This dual-season protection makes radiant barriers effective year-round.
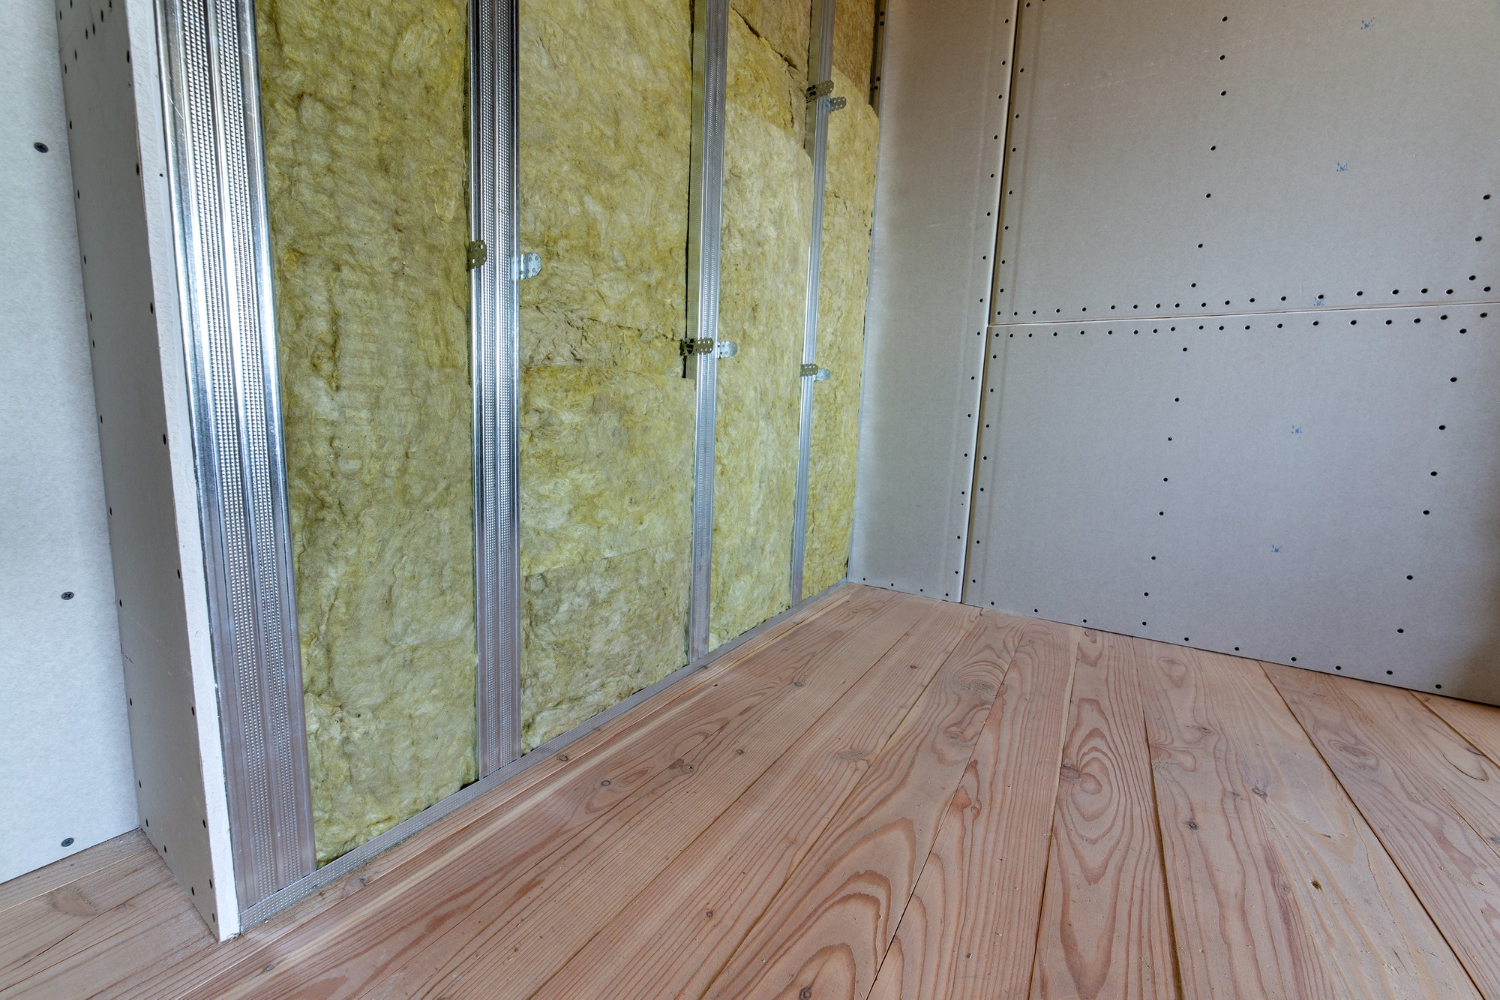
Why radiant barriers outperform some traditional attic insulation
Traditional attic insulation works by slowing down heat transfer through conduction and convection. It has thermal resistance that reduces heat flow.
Radiant barriers work differently. They reflect radiant heat instead of just slowing it down.
Key differences:
Traditional Insulation
Radiant Barriers
Absorbs then slows heat
Reflects heat away
Works on conduction/convection
Works on radiation
Can get saturated with heat
Maintains reflective properties
Thickness matters most
Reflectivity matters most
In hot climates, radiant heat makes up a large portion of your cooling load. Standard insulation cannot reflect this radiant energy.
We often recommend using both systems together. The radiant barrier handles radiant heat while traditional insulation manages conductive heat transfer.
This combination provides better overall protection than either system alone.
Common misconceptions about radiant barrier attic insulation
Many people think radiant barriers replace all other attic insulation. This is not true. Radiant barriers work best alongside existing insulation systems.
Another myth suggests radiant barriers only work in summer. We know they provide benefits in both hot and cold seasons.
Some believe thicker barriers work better. Actually, reflectivity matters more than thickness. A thin foil barrier can outperform a thick non-reflective material.
Common false claims include:
- Radiant barriers eliminate the need for ventilation
- They work the same in all climates
- Installation location does not matter
We also hear that radiant barriers are just marketing hype. Research from the Department of Energy shows real energy savings in appropriate applications.
The key is proper installation and realistic expectations. Radiant barriers reduce cooling costs but do not eliminate them entirely.
Understanding these facts helps you make better decisions about your home's energy efficiency upgrades.
Where and how to install a radiant barrier for best results
The most effective radiant barrier installations happen in attics where we staple the foil barrier to the underside of roof rafters. Proper placement and installation techniques ensure maximum heat reflection while avoiding common mistakes that reduce performance.
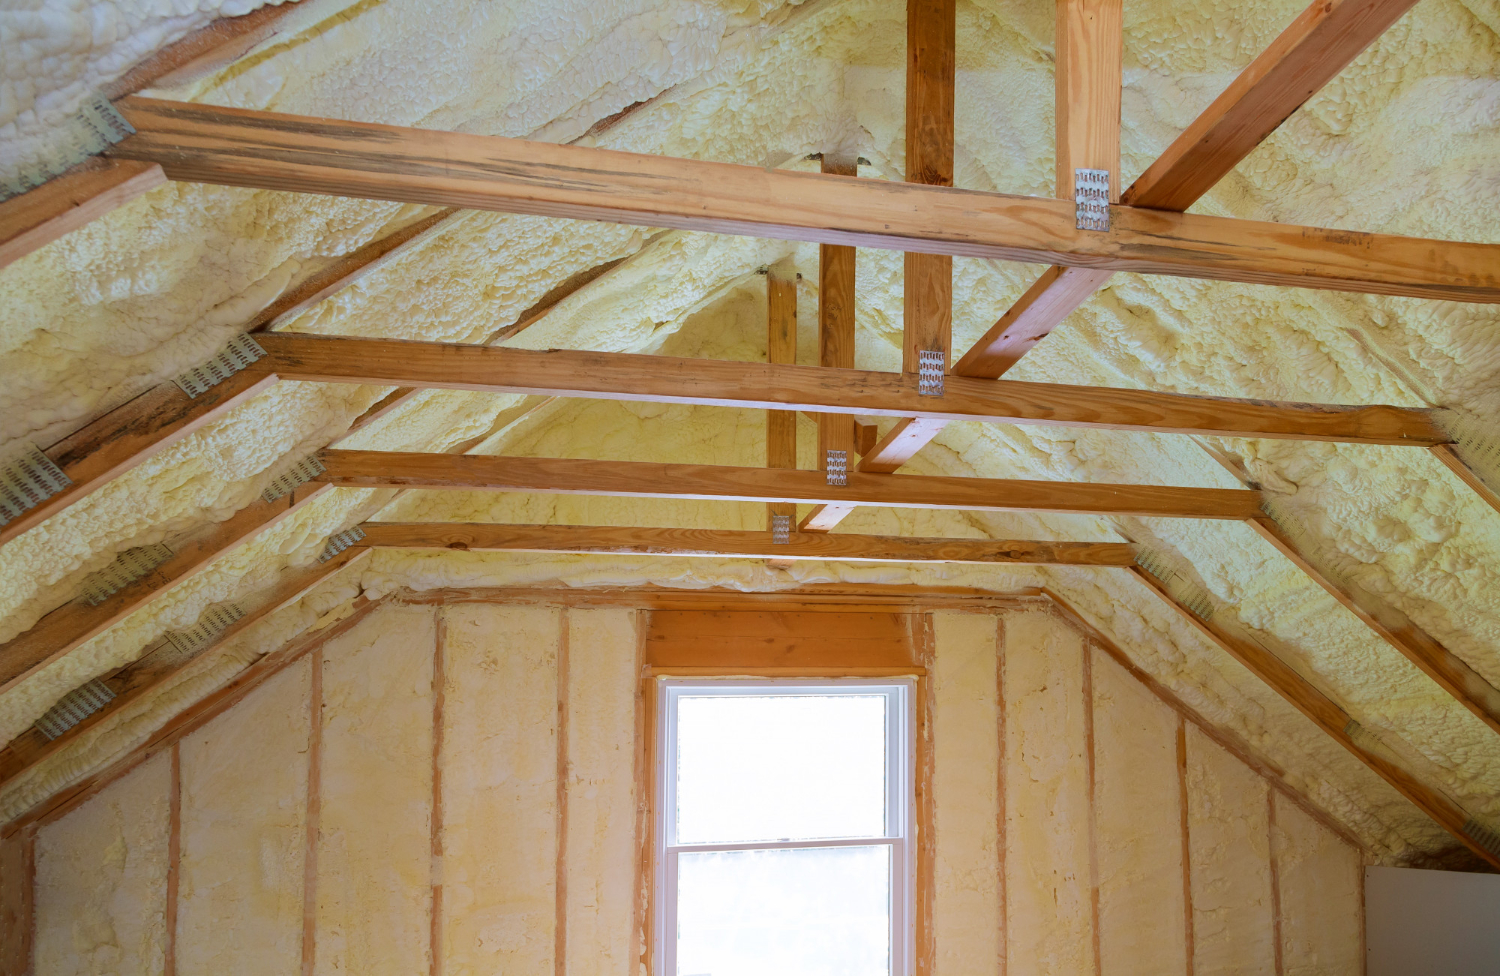
Ideal attic placement for maximum heat reflection
We get the best results when we install the radiant barrier on the underside of roof rafters. This position allows the foil barrier to reflect infrared radiation before it heats up the attic space.
The barrier works most effectively when it sits perpendicular to the radiant energy striking it. We should position the reflective surface facing down toward the attic floor to block heat from entering the living space below.
Key placement guidelines:
- Install 3/4 inch away from roof decking
- Ensure the reflective side faces the air space
- Cover the entire roof area for complete protection
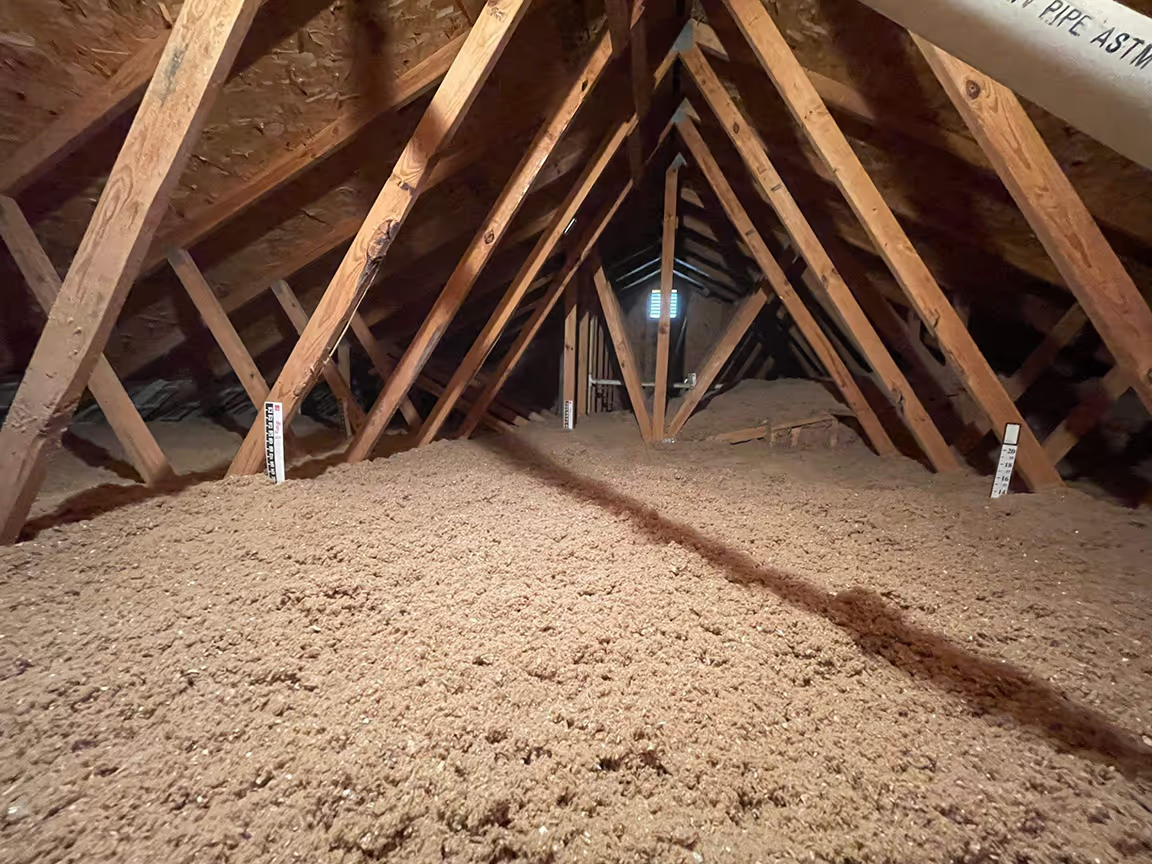
We can also install radiant barriers over existing insulation on the attic floor. This method works well in colder climates where we want to keep heat inside during winter months.
The barrier must have an air space on at least one side to function properly. Without this gap, the foil barrier cannot reflect heat effectively and loses its main benefit.
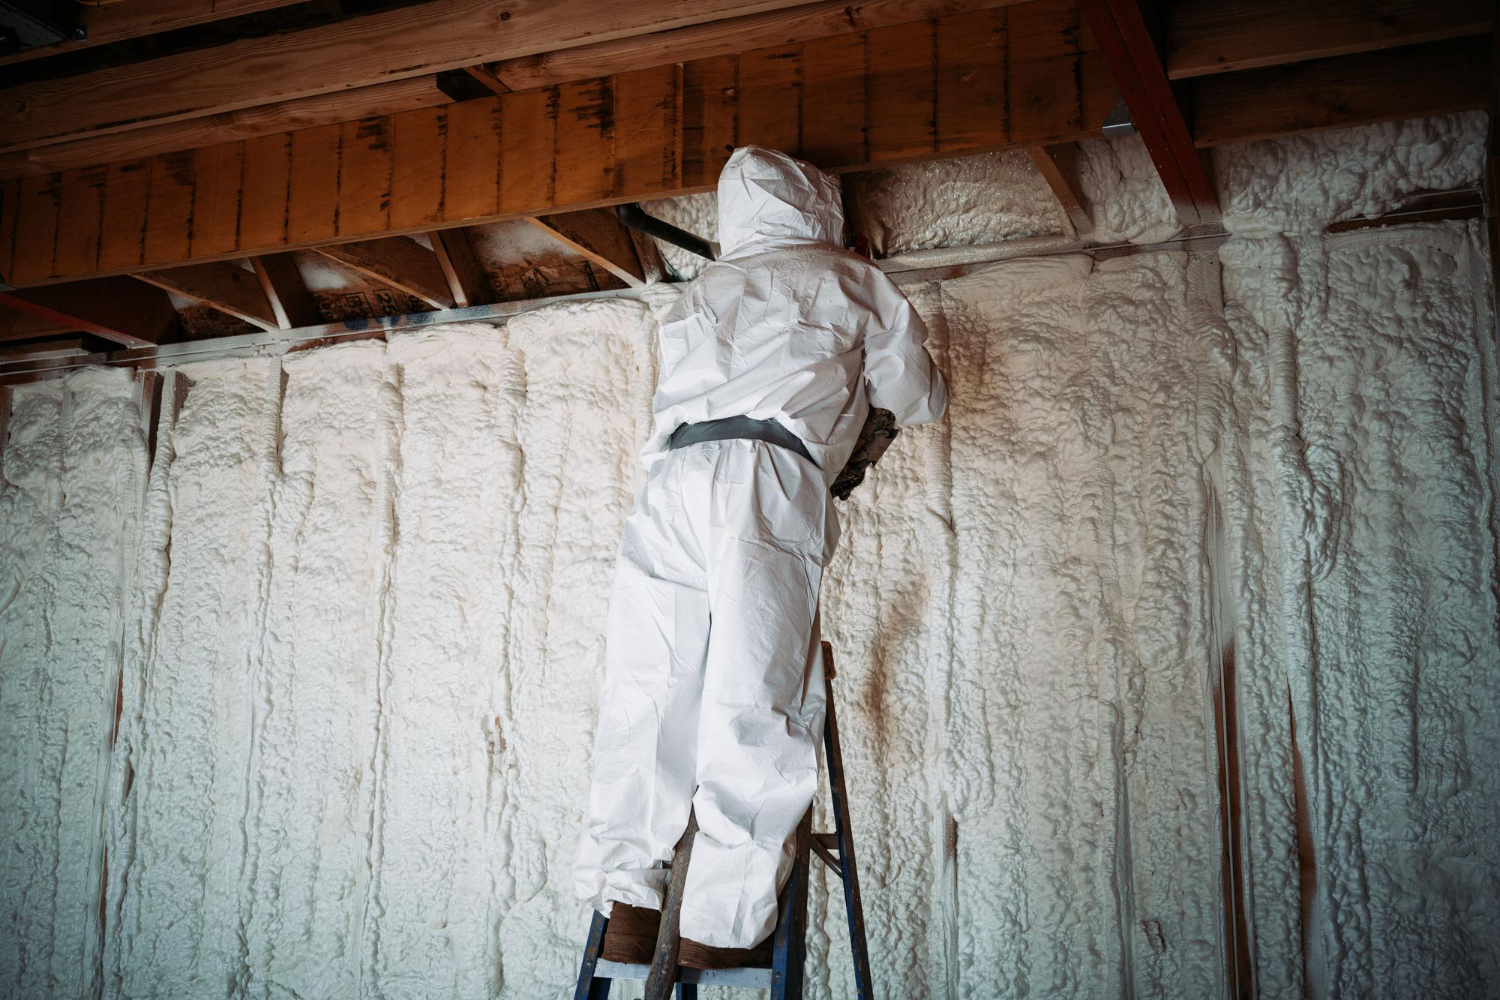
Step‑by‑step overview of radiant barrier attic installation
We start by gathering the right tools and materials. We need a staple gun, measuring tape, utility knife, and safety equipment including gloves and protective eyewear.
Installation steps:
- Measure the attic space - Calculate total square footage needed
- Cut the barrier material - Allow 2-3 inches overlap between sections
- Start at one end - Begin installation at the furthest point from attic access
- Staple to rafters - Place staples every 12-18 inches along each rafter
- Maintain spacing - Keep 3/4 inch gap between barrier and roof decking
- Overlap seams - Connect sections with 2-3 inch overlaps
We should work systematically across the entire roof area. The foil barrier needs to cover all sections where sunlight hits the roof during the day.
We must keep the reflective surface facing the right direction throughout the installation process. Most barriers have the shiny side as the reflective surface that should face downward.
Common mistakes to avoid during installation
We often see people install the barrier touching the roof decking directly. This eliminates the air gap needed for proper heat reflection and reduces the barrier's effectiveness significantly.
Critical installation errors:
- Installing without air gaps
- Placing reflective side facing wrong direction
- Creating tears or holes in the material
- Skipping ventilation requirements
We must avoid blocking existing attic ventilation when installing the barrier. Proper airflow prevents moisture buildup and maintains the building envelope's integrity.
Another common mistake involves using insufficient overlap between barrier sections. Gaps allow infrared radiation to pass through and heat up the attic space we're trying to protect.
We should never compress the barrier material during installation. Compressed foil loses its reflective properties and cannot perform its heat-blocking function effectively.
Cutting the material too short creates coverage gaps that reduce overall performance. We recommend measuring twice and cutting once to ensure complete roof coverage.
Understanding the cost and long-term value
Radiant barrier installation typically costs between $710 and $2,840, with most homeowners spending around $1,700. The investment can reduce cooling costs by 5% to 10% in warm climates, making it most valuable in hot regions where air conditioning runs frequently.
Key factors that affect radiant barrier installation pricing
The type of radiant barrier significantly impacts installation cost. Foil barriers and spray-on applications have different price points and labor requirements.
Attic size determines the total square footage that needs coverage. Larger homes require more materials and longer installation time.
Roof complexity affects labor costs. Simple gable roofs cost less to install than complex rooflines with multiple angles and obstacles.
Factor
Impact on Cost
Attic square footage
Direct material cost increase
Barrier type (foil vs spray)
$200-500 difference
Roof accessibility
10-20% labor variation
Regional labor rates
$50-150 per hour variation
Professional installation costs more upfront but ensures proper placement. DIY installation can save $500 to $1,200 in labor costs but requires careful attention to detail.
How radiant barriers reduce cooling bills in hot climates
Radiant barriers work by reflecting heat away from your home before it enters the living space. This reduces the workload on your air conditioning system during hot months.
In warm, sunny climates, we see the most significant energy savings. Areas with temperatures regularly above 85°F benefit most from radiant barrier installation.
Cooling bill reductions, according to the Department of Energy, in warm, sunny climates, especially in homes with cooling ductwork located in unconditioned attics, radiant barrier systems can reduce cooling energy use by approximately 5% to 10%. For a home with $200 monthly summer cooling bills, this means $10 to $20 in monthly savings during peak season.
The barriers help maintain cooler attic temperatures. Without barriers, attics can reach 150°F on hot days. Radiant barriers can reduce attic temperatures by 20 to 30 degrees.
ROI typically occurs within 5 to 8 years in hot climates. Homes in cooler regions may take 10 to 15 years to see payback through energy savings alone.
Comparing barrier insulation to other attic energy-saving upgrades
Traditional insulation works differently than radiant barriers. Insulation slows heat transfer while radiant barriers reflect it away completely.
Air sealing often provides better energy savings than radiant barriers. Sealing air leaks costs $300 to $800 and can reduce energy bills by 10% to 20%.
Attic ventilation improvements cost $300 to $1,500. Proper ventilation works well with radiant barriers to create maximum cooling efficiency.
Upgrade Type
Cost Range
Energy Savings
Best Climate
Radiant barriers
$710-2,840
5-10% cooling
Hot climates
Added insulation
$1,500-3,500
10-15% total
All climates
Air sealing
$300-800
10-20% total
All climates
Combining upgrades often provides the best value. Radiant barriers work alongside existing insulation rather than replacing it.
According to ENERGY STAR, homeowners can reduce their heating and cooling costs by an average of 15%, or about 11% on total energy expenses, through comprehensive air sealing and insulation upgrades in areas such as the attic, floors over crawl spaces, and rim joists.
Cool climate homes should prioritize traditional insulation over radiant barriers. The energy savings from barriers decrease significantly in regions with mild summers.
Benefits and possible drawbacks
Radiant barriers offer real energy savings and cooling benefits, but they work differently across climate zones and come with installation costs. Understanding both the advantages and limitations helps us make smart decisions about this insulation option.
How radiant barriers improve energy efficiency and comfort
Radiant barriers reduce our cooling costs by 5-10% in warm, sunny areas. This translates to lower energy bills during peak summer months when air conditioning works hardest.
The barrier reflects heat away from our attic instead of absorbing it. This keeps the attic space cooler, which means less heat transfers to our living areas below.
Key comfort improvements include:
- Cooler air ducts in the attic
- Less strain on HVAC systems
- More consistent indoor temperatures
- Reduced hot spots in upper floors
Our air conditioning doesn't have to work as hard when the attic stays cooler. The cooler air in ductwork arrives at vents without gaining as much heat during transport.
Radiant barriers also protect our furniture and flooring from heat damage over time. Excessive attic heat can warp materials and fade fabrics in rooms directly below.
Downsides to consider before installing
Installation costs vary based on our home's size and complexity. We need to balance upfront expenses against long-term energy savings to determine if the investment makes sense.
Radiant barriers work best against radiant heat but don't provide the same thermal performance as traditional insulation. They won't stop air leaks or provide significant winter heating benefits.
Common limitations include:
- Higher upfront costs compared to some insulation types
- Limited effectiveness in cold climates
- Requires proper installation to work correctly
- May collect dust over time, reducing reflective properties
Moisture control can become an issue if we install barriers incorrectly. Poor ventilation combined with radiant barriers might trap humidity in our attic space.
The barriers also need adequate airspace to work properly. Installing them too close to other surfaces reduces their ability to reflect heat effectively.
How your local climate impacts radiant barrier performance
We see the best results from radiant barriers in hot, sunny climates with high cooling demands. Areas with intense summer heat and abundant sunshine provide ideal conditions for maximum energy savings.
Cold climates offer limited benefits since radiant barriers primarily address cooling needs. We might see minimal winter heating improvements compared to the significant summer cooling gains.
Climate factors that affect performance:
- Hot, dry regions: Maximum cooling benefits and energy savings
- Hot, humid areas: Good cooling benefits but require careful moisture management
- Moderate climates: Some summer benefits but lower overall impact
- Cold regions: Minimal energy savings and limited cost-effectiveness
Humidity levels affect how well radiant barriers perform. High moisture areas need proper attic ventilation to prevent condensation problems that could damage our home's structure.
We should consider our local utility costs when evaluating radiant barriers. Areas with expensive electricity rates see faster payback periods from the energy savings these systems provide.
Choosing the right professional installer
Professional installation ensures your radiant barrier works correctly and lasts longer. The right contractor will have proper training, offer solid warranties, and use quality materials that DIY projects often lack.
Signs of a reliable radiant barrier contractor
A trustworthy contractor will provide proof of licensing and insurance before starting any work. We recommend asking to see these documents upfront.
Look for these key indicators:
- Valid business license in your state
- General liability insurance coverage
- Workers' compensation insurance
- Positive reviews from recent customers
- Written estimates with detailed material costs
Experienced contractors can explain different installation methods clearly. They should know local building codes and permit requirements.
The best contractors offer free inspections of your attic space. They measure carefully and explain which areas need the most attention.
Red flags to avoid:
- Door-to-door sales tactics
- Requests for full payment upfront
- No physical business address
- Extremely low bids compared to others
Questions to ask before hiring
We suggest asking specific questions about their radiant barrier experience. Find out how many installations they complete each year.
Ask about the type of materials they use and why. Quality contractors use barriers with low emissivity ratings for better performance.
Essential questions include:
- How long have you installed radiant barriers?
- What warranty do you provide on labor and materials?
- Can you provide local references from recent jobs?
- Do you handle permits and inspections?
- What happens if problems occur after installation?
Request details about their installation process. They should explain how they maintain proper ventilation spacing and avoid common mistakes.
Get everything in writing before work begins. The contract should list materials, labor costs, timeline, and warranty terms.
Why professional installation delivers better results than DIY
Professional installers have specialized tools and safety equipment that most homeowners lack. Working in attics requires proper protective gear and ventilation systems.
Contractors understand building codes and permit requirements. They know which installation methods work best for different roof types and climates.
Professional advantages:
- Proper safety equipment and training
- Knowledge of local building codes
- Access to commercial-grade materials
- Experience with different installation methods
- Warranty coverage on both labor and materials
DIY mistakes can reduce energy savings by up to 50%. Common errors include incorrect spacing, wrong-side installation, and blocked ventilation areas.
Professional installation typically comes with 5-10 year warranties on labor. This protects your investment if problems develop later.
Contractors complete the job faster than DIY projects. Most professional installations finish in one day compared to weekend DIY attempts that drag on for weeks.
Conclusion
Radiant barrier installation offers a practical way to keep homes cooler during hot months. The reflective materials work by bouncing heat away from living spaces.
We can see that radiant barriers work best in warm climates. They are most effective when installed in attics or roofs to prevent heat gain.
The installation creates a cooler attic environment. This helps the cooling system maintain steady temperatures with less effort.
Radiant barriers provide both immediate comfort and long-term savings. They reduce the load on cooling systems when temperatures rise.
For homeowners in hot climates, this energy-efficient solution addresses rising cooling costs. The reflective materials help create more stable indoor temperatures year-round.
The technology offers a smart approach to home energy management. It combines comfort improvements with practical cost savings through reduced energy consumption.
Schedule your radiant barrier installation today to maximize cooling efficiency and reduce energy costs this summer.